Stuck on a puzzle in Giggleland? Some puzzles require you to search for hidden items, while others ask you to figure out codes or activate levers in the right order. This Giggleland walkthrough covers the puzzles’ solutions and safe codes in Chapters 2, 3, 4, and 5.
Spoilers ahead: The solutions below reveal puzzle answers and some story events.
Heads up, gamers! If you keep reading, you’ll uncover some puzzle solutions and a few key story moments, so proceed with caution.
Chapter 2: Pipes – Farmer Terry’s Farm
In this part of the adventure, your goal is to hunt down four unique containers and fit them into their corresponding pipes to solve the puzzle. These containers are cleverly hidden all around the farm, and getting to some of them will require you to tackle some mini-puzzles first—so get ready to challenge your brain a little!
Container 1: Sugar
For starters, the sugar container is nestled away at the very top of the big wooden staircase, just waiting for you to discover it.
Container 2: Fuel
You will need a key to open the Windmill, where the fuel container is hidden.
Cross to the other side of the farm and enter the warehouse-like room with a NO ENTRY poster.
Now you have to search the open employee locker to find a key.
Take the key to the Windmill and unlock the door.
Look behind the cardboard cow to find the fuel container. The drawing clue in the top-left corner points toward the cardboard cow, so check behind it if you cannot see the container.
Pick it up and place it in the yellow pipe inside the Windmill.
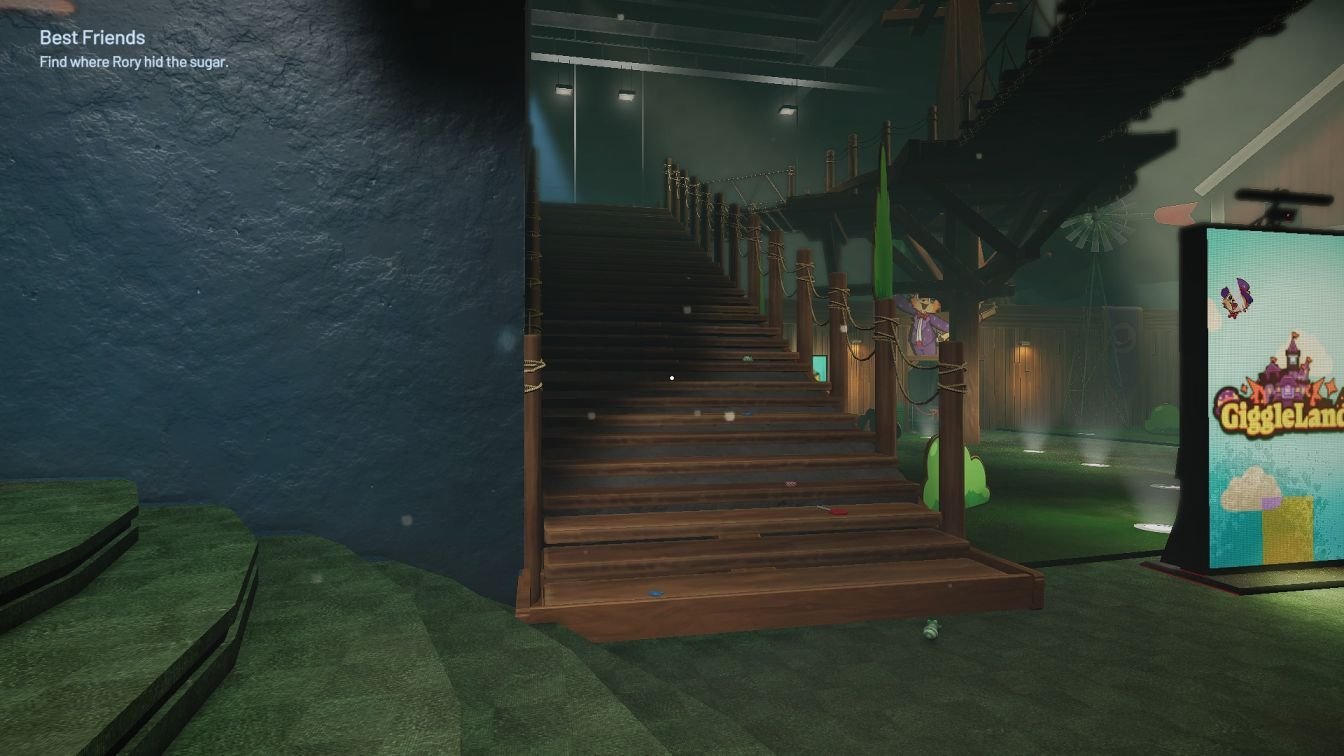
As soon as you step into the room, keep an eye out for a container that glows white, sitting neatly on a shelf. It’s your target!
Grab that sugar container!
Now, over to your left in the same room, you need to locate the blue pipe. Once you’ve found it, slide that container right in there!
This is the very first container you can grab without needing to step into any other area. It’s a great starting point to kick off your adventures!
Container 2: Fuel
To access the hidden fuel container in the Windmill, you’re going to need a key. Make sure you keep an eye out, as it’s essential for unlocking this particular spot!
Make your way across to the opposite side of the farm, and head inside a spacious room that resembles a warehouse. Keep an eye out for a NO ENTRY poster as you’re searching around!
Your next step is to rummage through the open employee locker, where you should hopefully stumble upon the key. It’s crucial for progressing further in your quest!
Now that you’ve got the key in your possession, it’s time to take it to the Windmill and unlock that door. You’re so close to uncovering the secret within!
Once you’re inside, don’t forget to look behind the cardboard cow to spot the elusive fuel container. The drawing clue in the top-left corner hints at this location, so if you’re having trouble finding it, definitely check behind that cow!
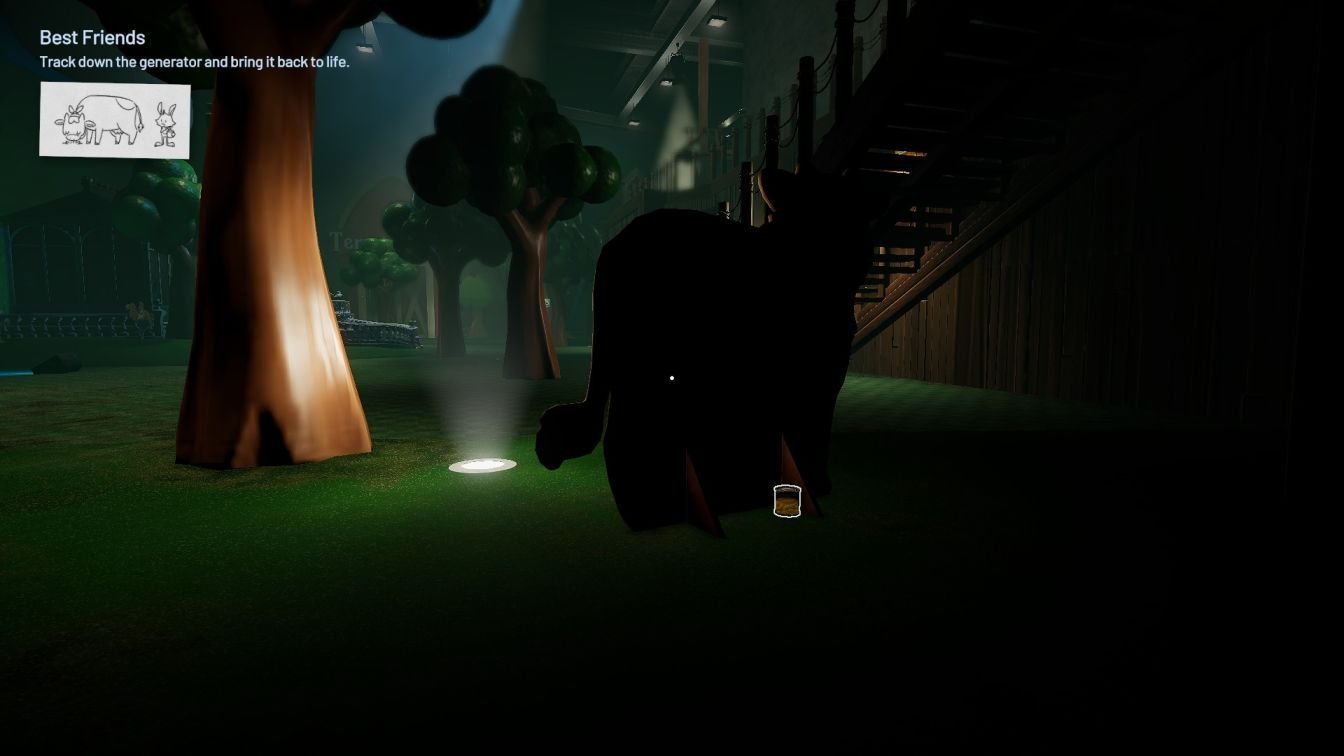
Go ahead and drop it into the yellow pipe that’s nestled inside the Windmill. This little task will get you on your way!
Container 3: Pig Feed
To tackle the pig feed container, you’ll need to crack the colored pipe puzzle found within Harley and Clark’s charming Hen House. Put on your thinking cap and get ready!
Make your way to the Hen House by stepping in through the entrance on the left side, and don’t forget to climb up those stairs once you’re inside!
Once you’re up on the upper floor, take a moment to observe the four colorful pipes: there’s red, blue, yellow, and purple just waiting for your attention!
Next, you’ll want to inspect the same-colored pipes located down on the lower floor of the Hen House or anywhere around the farm. They’re hiding the symbols that you’ll need to solve the puzzle!
Now, it’s time to input the symbols into the four pipes on that upper floor. Just remember the order: Circle, Triangle, Square, Star, from left to right. Good luck!
Go ahead and turn the wooden wheel to get that mechanism up and running. Just a heads-up, the wheel’s going to snap off, so make sure to pick it up once it does!
Wander across the farm until you reach The Nursery. A little secret lies waiting there! Look behind its left staircase, and you’ll find the pig feed container tucked away.
Container 3: Pig Feed
The pig feed container requires you to solve the colored pipe puzzle inside Harley and Clark’s Hen House.
Enter the Hen House on the left and climb the stairs.
Look at the four colored pipes on the upper floor: red, blue, yellow, and purple.
Now check the same-colored pipes on the lower floor of the Hen House (or around the farm) to find the symbols you need.
Enter the symbols into the four pipes on the upper floor. From left to right: Circle, Triangle, Square, Star
Turn the wooden wheel to activate the mechanism. The wheel will break off, so pick it up.
Go across the farm to The Nursery and search behind its left staircase for the pig feed container.
Return to the main area and follow the trail of blood.
Bring the wooden wheel with you before returning for the pig feed container.
Keep the broken wheel with you as you continue. You’ll need it for the next part of the puzzle sequence.
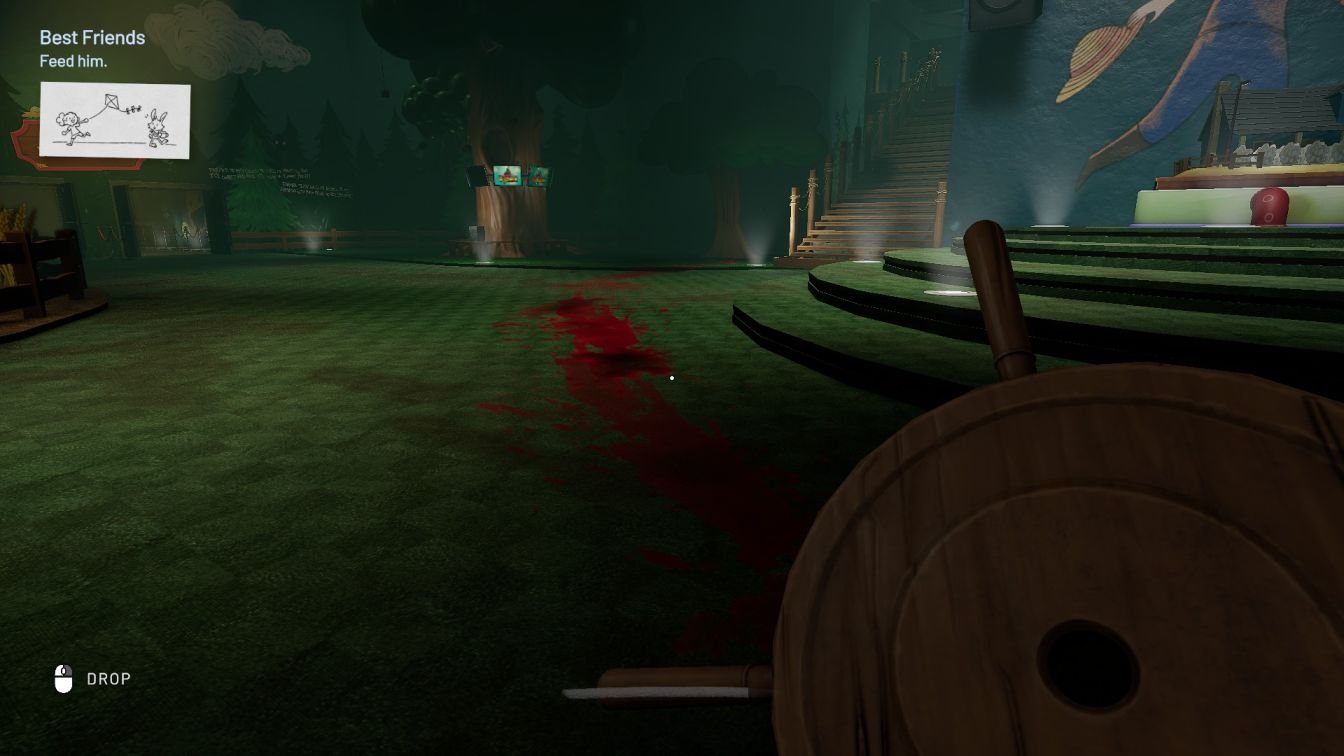
Before you dash off to grab the pig feed container, be sure to bring the wooden wheel with you. It’ll be important for what’s coming next!
Hold onto that broken wheel as you press on. You’ll find that you’ll need it for the next part of the puzzle sequence, so don’t let it out of your sight!
Container 4: Liquid Insecticide
The final container will unlock once you take a closer look at the Barn. Don’t miss out on this crucial step!
Head over toward the Barn, which is making its presence known with those flashing police lights. It’s quite easy to spot, so keep your eyes peeled!
Hey there! Make sure to grab the newspaper clipping that you’ll find sitting by the Barn. It’s key to piecing together the story!
It’s time to hit the trail! Go ahead and follow the bloodstained path once more. Trust me; it leads to some intriguing discoveries ahead.
Just keep pushing through the storyline until you find yourself waking up again. When you do, you’ll notice that you’re now holding a container filled with liquid insecticide. This little item will definitely come in handy!
Now it’s your chance to step inside The Nursery. The doors should be wide open for you now, welcoming you into this mysterious space!
Your next mission is to locate the final pipe in the area and go ahead and insert that liquid insecticide container you’ve been carrying. It’s the last piece of the puzzle!
Once you’ve tackled that, make your way back to the main area. It’s time to follow your next objective and see where your journey takes you next!
Chapter 3: Terry’s House
As you dive into Chapter 3, you’ll stumble upon a delightful mix of four intriguing puzzles waiting for you! Get ready to tackle those birthday candles, crack open a safe, figure out a locked box, and interact with a charming gramophone. Each of these challenges is sure to keep you on your toes as you explore!
Puzzle 1: Birthday Candles
To snag those birthday candles, you’ll need to stretch a bit and reach the top shelf above the oven. Make sure you take a good look around and maybe even jump up if you’re feeling adventurous, because those candles are just waiting for you to grab them!
Don’t forget to head back to the Kitchen that you explored before. That familiar space holds secrets waiting to be uncovered once more, so a revisit could lead you to more exciting discoveries!
It’s time to get hands-on! Open the kitchen cabinets one after another and be prepared for an audio surprise. You might notice the peculiar sound of a chair scraping across the floor. Pay attention, as the environment around you is rich with clues and atmosphere!
When you take a good look around, you’ll notice that a chair has appeared right next to the kitchen counter. This mysterious arrival is not just for decoration; it’s a clue to solving the puzzles looming ahead!
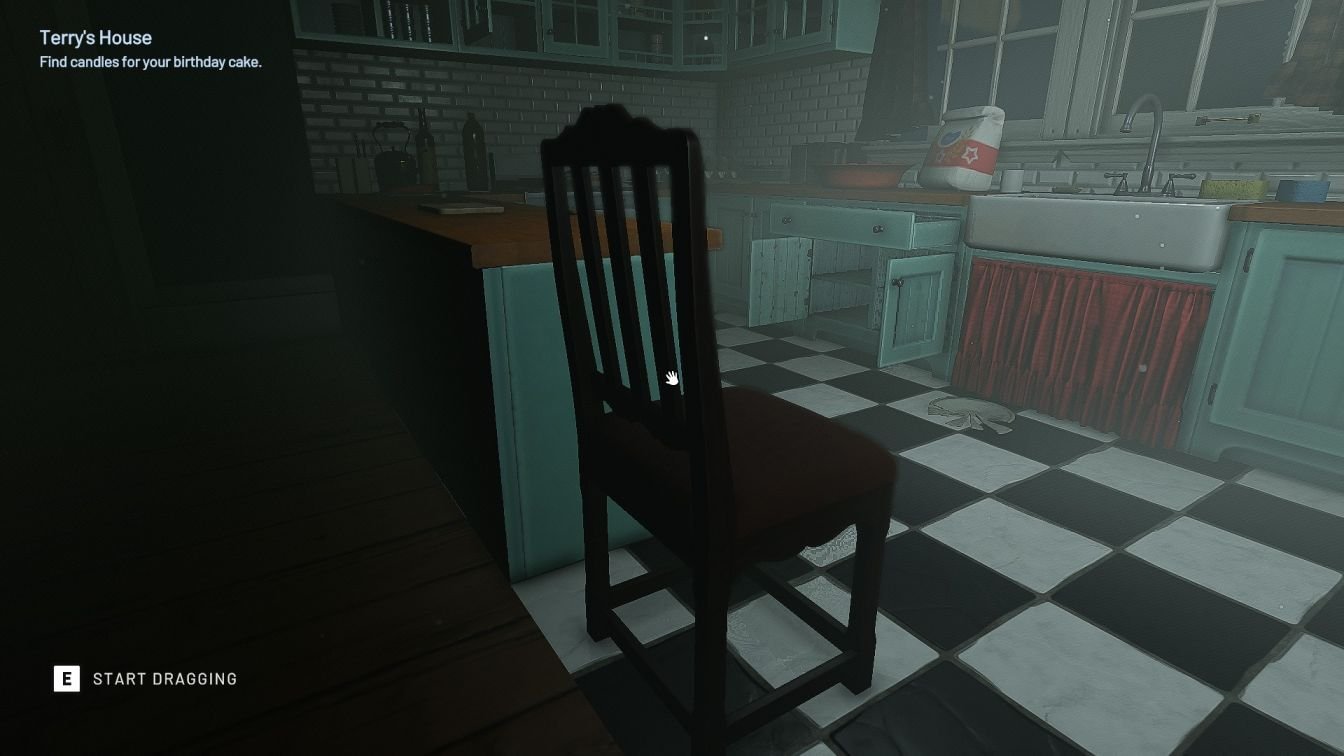
Now, grab hold of that chair and push it toward the designated area near the oven. Think of it as your handy placement guide, and don’t hesitate to arrange it just right. Using the ghostly chair as your compass can help you accurately set the stage for the challenges you’re about to face!
Hop onto that chair and stretch up to grab what you need from the top shelf right above the oven.
Grab those candles.
You might notice that the mannequins are lining the doors, giving the Kitchen a whole new vibe, but don’t be fooled; your first stop should definitely be those cabinets.
Puzzle 2: Garage Safe
Over in the garage, you’ll find a safe that requires a four-digit code to crack open. To uncover this code, take a good look around the living room and count the items depicted in the various paintings.
- Kick things off by stepping into the living room where the TV and piano are hanging out.
- Next, turn your attention to the artwork adorning the walls.
- Start your count with the painting of an egg that’s on the left wall.
- Now, move around the room clockwise, counting each object you see in every painting.
- Keep going until you reach the painting featuring fully grown chickens at the end.
With the safe code finally in hand, head back to the garage and enter that code into the safe.
If you’ve entered the wrong code, don’t sweat it! The correct safe code you should be using is 1437. Go ahead and give it another shot!
Once the safe is unlocked, dive right in and grab that present waiting for you. It’ll surely bring some delight to your adventure!
Puzzle 3: The Locked Box
Don’t forget, there’s another secure box waiting for your attention on the upper floor of Terry’s House, and like the previous one, this one’s got a four-digit code requirement too!
- Start by heading upstairs and keep your eyes peeled for the two posters featuring the missing child. They showcase the same kid.
- Your first stop should be by the sitting mannequin of Ms. Mable, where you’ll find the first poster nestled nearby in the bedroom.
- Next, take a stroll across the hall to check out the room directly opposite; that’s where the second poster is hanging out.
- With the posters in hand, don’t forget to grab the cash reward details mentioned on each of them.
- From those, you’ll snag two numbers: 47 and 55.
- Now, mash those two numbers together, and you’ll unveil the safe code: 4755.
After you crack that code, feel free to pop open the safe and see what treasures lie within. It’s always exciting to uncover new goodies!
Puzzle 4: The Gramophone
To tackle the gramophone puzzle, you’ll need to first find and insert the vinyl record. Once that’s done, you’ll be all set to solve it and continue your quest!
- First up, place the vinyl record into the gramophone, making sure it’s snug and secure.
- Next, interact with the gramophone to bring up its control interface.
- Now, it’s time to tweak those knobs. Turn each of the three dials until you start hearing the audio come through crystal clear.
- Take your time and listen intently as you fine-tune each knob. You’ll want to get all three settings just right to ensure the sound is stable.
- Once you’ve lined up the knobs perfectly, a lovely piano melody will begin to play!
If the sound still feels a bit off or distorted after your initial adjustments, don’t fret! Keep fiddling with those knobs until you manage to hit the sweet spot for perfect clarity.
Chapter 4: Corridors
Breaker Box Puzzle
To bring the power back online, you need to activate six circuit breakers in a precise order. It’s a puzzle you’ll need to solve to move forward!
- Start off by pressing the third breaker in the top row.
- Next, give the second breaker in the top row a press.
- Then, press the second breaker in the bottom row.
- After that, hit the first breaker in the top row.
- Now, go ahead and press the fourth breaker in the top row.
- Finally, wrap things up by pressing the first breaker in the bottom row.
Once you’ve completed this sequence of presses, you should successfully restore power throughout the area!
Puzzle 1: Timed Levers
Upon entering the warehouse, you’ll be greeted by a thick green fog and three levers waiting to be pulled. Each lever has its own timing for how long it stays active, so make sure to pull them in the right order to achieve your goal.
When you’re tackling this challenge, start by pulling that lever with the longest timer first – it’ll save you in the end! Then, wrap things up by pulling the one with the shortest timer last. Trust me; it’s all about timing, and this order will help you nail it!
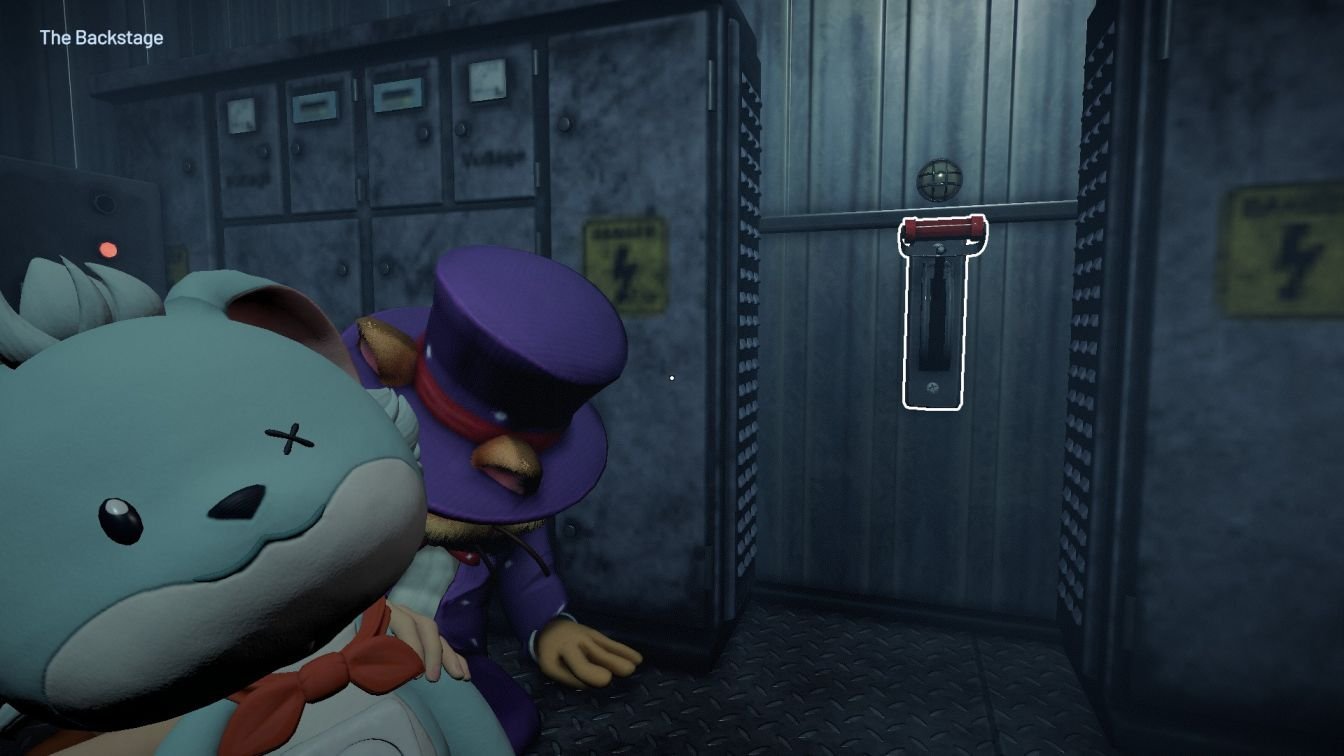
First lever: Fan room
First lever: Fan room
Go through the small shelf labyrinth and exit the warehouse.
Enter the fan room beside the second lever.
Pull the lever inside the fan room.
Time active: 1 minute 5 seconds
You’ve got a solid minute and five seconds to work your magic in this section. Make every second count as you navigate through the thrilling challenges ahead!
Second lever: Outside the labyrinth
- First up, make your exit from the fan room. You’ve got this!
- Next, look for the lever that’s mounted on the wall and gives you access just outside the maze of shelves in the warehouse. Give it a good pull!
In this segment, you’ve got a snappy 40 seconds to get your plan into action. Stay sharp and focused; you can do it!
Third lever: Warehouse entrance
- Now, dash back through the shelf labyrinth, heading towards the entrance of the warehouse. Time is of the essence!
- Finally, make sure to pull that last lever right where you first entered this area. It’s the final touch you need to complete this task!
Just a fleeting 3 seconds is what you have here, so be swift! Every millisecond matters in this high-stakes moment.
When you approach that last lever, time really becomes a factor you can’t ignore! The seconds are slipping away quickly, so don’t get tempted to wander off or explore the area in between pulls. Before you kick off the sequence, take some time to familiarize yourself with the layout of the shelves. Knowing your way around will make all the difference when you’re in the thick of it!
Chapter 5: Mechanical Workshop Timed Levers
Get ready for a bit of a thrill in the workshop area of Rory’s Rally! This is where the challenge unfolds. You’ll want to make sure you’ve mapped out the path you’ll take before flipping those three levers, especially since the final one only stays active for a mere three seconds. It’s all about precision and speed, so get that strategy in place first!
Prepare the route first
Before you dive into that nail-biting timed sequence, make sure to tick off these essential steps:
- Locate the battery and use it to energize the vehicle lift that’s holding the tractor-shaped vehicle in place.
- Hop on the lift and ride it up to the catwalk; this is your first step towards victory!
- Stick to the right side of the catwalk and take a leap down near the shredder. Watch your step!
- There’s a wooden crate blocking your way; give it a push back toward the lift area and make sure it ends up all the way in the Recreational Area to clear your path.
- Once you’re in the Recreational Area, navigate through the vents until you reach the Monitoring Room.
- Finally, don’t forget to lower the vehicle lift before the clock starts ticking for your timed run.
Wait to kick off that timed sequence until everything is prepped and ready! You’ll need to make your way from the Monitoring Room to the catwalk and then dart over to the small locker corridor that’s right next to the Recreational Area. Timing and precision are key here, so don’t rush into it!
Correct lever order
First lever: Monitoring Room
Once you’re set, pull that lever inside the Monitoring Room, and then hustle back through the vent as fast as you can! Swift movements are crucial if you want to beat the clock!
Active Duration: 1 minute and 5 seconds
Second lever: Catwalk
Second lever: Catwalk
- Run to the vehicle lift area.
- Use the lift to get back onto the catwalk.
- Head to the left side of the catwalk and pull the second lever.
Time active: 25 seconds
Active Duration: 25 seconds
Third lever: Locker corridor
- Once you activate the second lever, jump down from the catwalk right away.
- Dash through the door that you recently opened by moving the crate.
- Make your way across the Recreational Area and head into the narrow corridor filled with lockers.
- Look for the last lever tucked away in the far-left corner and give it a pull.
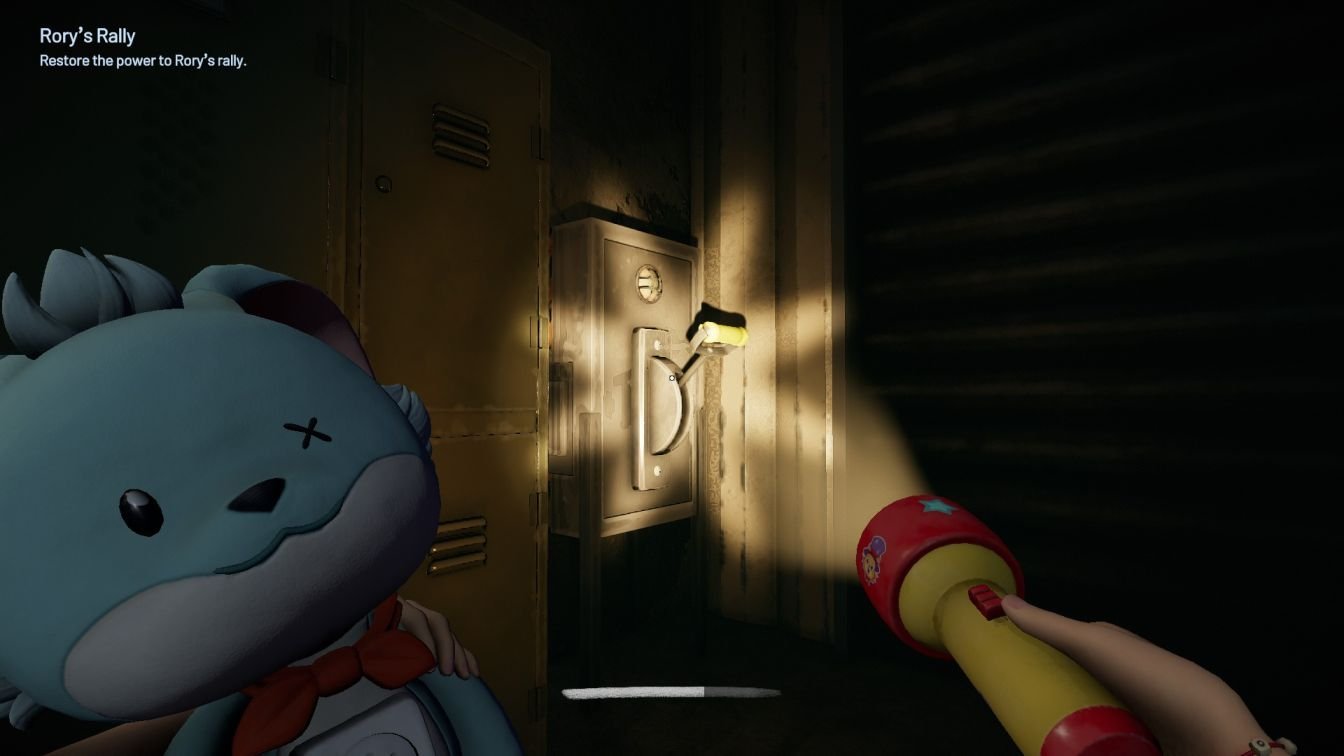
Active Duration: 3 seconds
Keep an eye out for that vehicle lift! There’s an invisible wall lurking nearby that can block your movement if you try to sneak past it too tightly. Instead of squeezing by, take the longer route around the lift; this way, you won’t waste precious time that you need to reach that last lever.