Allogloom is a point-and-click adventure game where you play as Nora. You need to find items, solve puzzles, and explore different locations to progress through the story. The gameplay feels immersive yet challenging, and many players get tripped up on the item collection and puzzle solving, so knowing where to find what you need is crucial.
You’ll be juggling various tasks and talking to characters, which means managing your inventory wisely. Pay close attention to details in dialogue and your surroundings—they often hint at the next steps. It’s wise to grab the items you can early on, as some puzzles require specific combinations.
Before jumping into specifics, make sure to check your inventory often and keep an eye out for any interactive objects; they’ll guide you through the initial chapters seamlessly.
Allogloom Chapter 1 Walkthrough
Chapter 1 starts with Nora preparing for a ceremony. You need to collect three items: a Decorative Plate, a Ceremony Stool, and Meat. Some items require a few extra steps, so collect everything in the order below.
How to Complete the Blessed Festivities Ceremony
Start by talking to Tommy and Gran. Then, check the cardboard box on the left.
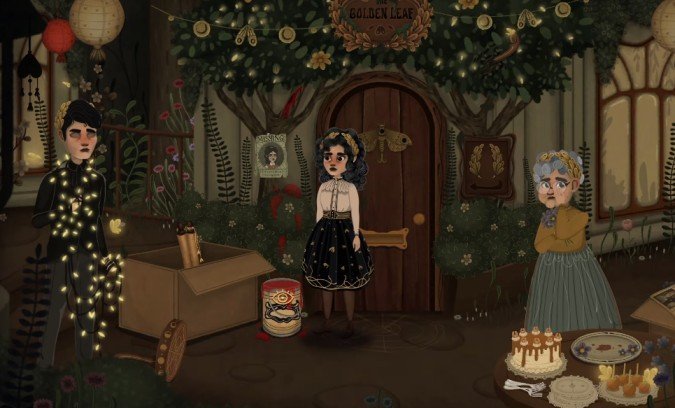
The required items are:
- Decorative Plate
- Ceremony Stool
- Meat
Get the Decorative Plate
The Decorative Plate is on the table beside Gran. Pick it up, but also interact with the cake on the table. You will need to ask Gran for a slice later.
Build the Ceremony Stool
First, inspect the bucket on the floor. The red liquid inside is sticky sap, which will help you put the stool together.
Pick up the incomplete stool. You can see one of its missing legs stuck in the tree above Gran, but you cannot reach it yet.
Step 1: Collect the required items.
- Take the tool hanging on the wall beside Dad.
- Pick up the puzzle piece from the desk in the bottom-right corner.
- Grab the stick near the entrance.
Step 2: Open the puzzle box.
Inside, you will find a scroll and a rope. Keep both items.
Step 3: Assemble the tool.
Open your inventory and combine the items needed to create the tool.
Before moving on, try using your new tool on the flower bucket in the top-left corner of the room with the meat. Use it more than once to unlock the Dad was right achievement.
Step 4: Finish the stool.
You now have the missing leg. Use it on the bucket of sticky sap to prepare it, then combine it with the incomplete stool to finish the Ceremony Stool.
You need to get a slice of cake for Dad before you can obtain the meat.
Step 1: Talk to Gran and Dad.
Speak to Gran and ask for a piece of cake. She will refuse.
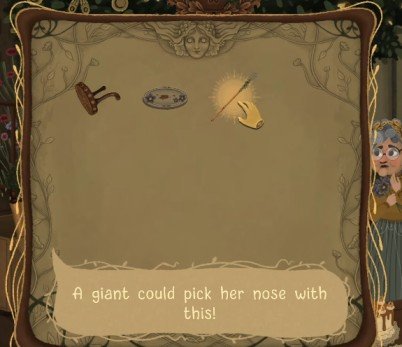
Step 2: Get the cake for Dad.
Return to Gran and ask, ‘Can I take a slice of cake?’ This option should now be available because you interacted with the cake earlier.
Take the slice back inside and give it to Dad.
Step 3: Collect the meat.
After eating the walnuts, Hopper will give you the piece of meat. Pick it up for the ceremony.
Once you have all three items, combine the Decorative Plate , Meat , and Ceremony Stool as needed.
Place the completed offering on the circle in front of the door. This triggers a cutscene and completes Chapter 1.
Allogloom Chapter 2 Walkthrough
Chapter 2 begins at Nora’s house with Tommy and Hopper. Your first task is to enter your mother’s locked office and recover her journal. You will also need to restore power to the journal to discover what happened in the village.
Find the Key to Mom’s Office
Outside, inspect the window of your mother’s office. You will spot a gardening tool inside, but the locked door will stop you from reaching it.
Go back inside the house and collect the wooden object from the tape box.
Interact with the TV at least once, as this is also needed for an achievement later.
Move to the left to go downstairs. A cutscene with Darling will play.
While downstairs, collect these items:
You can also inspect the bag to learn more about Tommy.
Finish Chapter 1
Once you have all three items, combine the Decorative Plate, Meat, and Ceremony Stool as needed.
Place the completed offering on the circle in front of the door. This triggers a cutscene and completes Chapter 1.
Allogloom Chapter 2 Walkthrough
Chapter 2 begins at Nora’s house with Tommy and Hopper. Your first task is to enter your mother’s locked office and recover her journal. You will also need to restore power to the journal to discover what happened in the village.
Find the Key to Mom’s Office
Outside, inspect the window of your mother’s office. You will spot a gardening tool inside, but the locked door will stop you from reaching it.
Go back inside the house and collect the wooden object from the tape box.
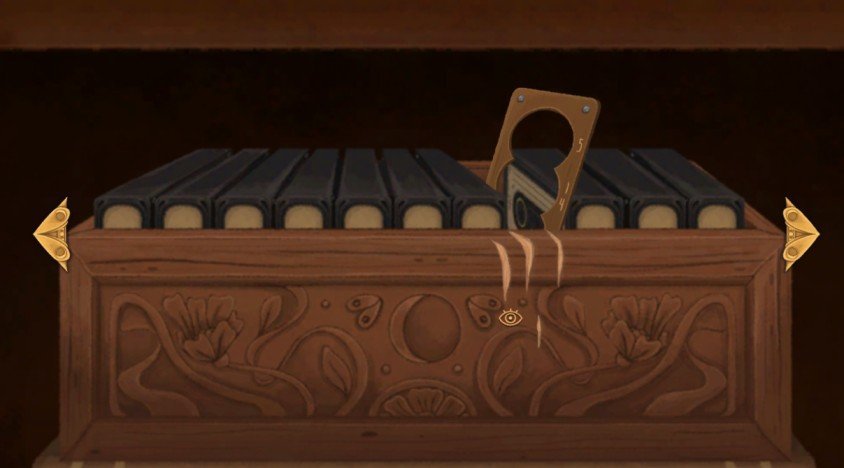
Interact with the TV at least once, as this is also needed for an achievement later.
Move to the left to go downstairs. A cutscene with Darling will play.
While downstairs, collect these items:
- The green scarf beside the door.
- The key inside the drawer.
You can also inspect the bag to learn more about Tommy.
Return upstairs and talk to Tommy if you want to discover more about the story. Then go outside and use the key to unlock your mother’s office.
Collect the Gardening Tool and Journal
Once inside the office, explore the room, and there you can interact with many things.
We have come here for the gardening tool, so pick it from the basket.
Go to the right and inspect the aquarium to find the Tape.
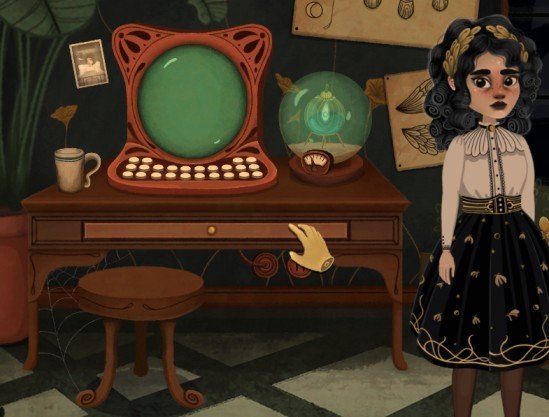
Open the pencil case on your mother’s desk and obtain the Pencil.
Collect the Gardening Tool and Journal
Once inside the office, explore the room, and there you can interact with many things.
Go to the right and inspect the aquarium to find the Tape.
Open the pencil case on your mother’s desk and obtain the Pencil .
The book on the desk also contains additional story details if you want to learn more about the family.
Return outside and use the large scissors on the package delivered by the moth. Take your mother’s journal from inside.
The journal has no battery power, so you need to find a way to charge it.
Pick up the cable and return to your mother’s office.
Charge the Journal and Find the Password
Open your inventory and combine the journal with the cable.
If you want the Crispy Nora achievement, interact with the electrical outlet several times while Nora has nothing in her inventory. Do this before picking up or equipping any items.
Now go under your mother’s desk and plug the journal into the wall outlet. The journal will ask for a password.
Step 1: Examine the moon drawing.
Exit the journal interface and inspect the large drawing showing the moons.
Take the wooden object you collected from the tape box and use it on the moon drawing. This will reveal the information needed to enter the password.
Step 2: Enter the password.
Open the journal again and use the numbers shown on the wooden object and moon drawing to work out the correct sequence.
The first moon uses 5, while the second moon uses 1 and 4. Follow the markings on the drawing for the remaining numbers.
After entering the password, the lights will go out. Exit the village map to trigger the next cutscene.
Escape the House
Return inside the house and enter the area where the monster appeared.
You can interact with Hopper before continuing. Then inspect the TV to see what happened to the rest of the village.
Take the green blanket from the sofa and head outside.
Open your inventory and combine the green scarf with the green blanket. Use the combined item on the wood to create a way down.
Nora can now climb down, and Hopper will follow her.
This completes Chapter 2.
Allogloom Chapter 3 Walkthrough
Chapter 3 begins outside Nora’s house, near the entrance. You need to explore the village, collect several objects, and find a way to deal with the monster blocking your path.
Collect the Blood and Bone Bag
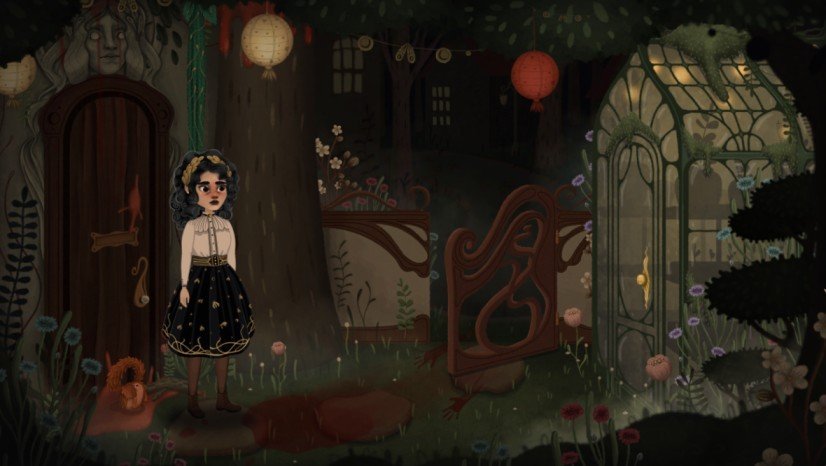
Go back inside and talk to Tommy. He will give you a clue about repairing the tape with a pencil.
Next, put the repaired tape into the orange radio. Hopper will start dancing and drop the cable he was carrying in his mouth.
Charge the Journal and Find the Password
Open your inventory and combine the journal with the cable.
If you want the Crispy Nora achievement, interact with the electrical outlet several times while Nora has nothing in her inventory. Do this before picking up or equipping any items.
Step 1: Examine the moon drawing.
Exit the journal interface and inspect the large drawing showing the moons.
Take the wooden object you collected from the tape box and use it on the moon drawing. This will reveal the information needed to enter the password.
After the cutscene, inspect the bush to the left of the statue. You will find Granny’s glasses there.

Take the glasses back to Gran. She will allow you to take the hammer.
Open the journal again and use the numbers shown on the wooden object and moon drawing to work out the correct sequence.
Return to the statue and continue to the right. A monster will block your path.