Want to unlock all achievements and endings in Heartfall — A Tale in Three Lives? You’ll need to follow different story routes and make specific choices at key moments. Some endings trigger from your dialogue choices, while others require you to save a character, let someone die, or refuse to follow a plan.
This guide covers all 12 routes, the achievement associated with each route, and the steps to unlock all endings in Heartfall — A Tale in Three Lives. I’m still working on the remaining achievements and will share their exact unlock steps soon.
Spoiler warning: This guide reveals major story events and endings. Some routes also contain disturbing scenes involving death, blood, horror, and body horror.
Route 0: Have We Been Here Before?
Achievements: So That’s How It Went, That’s Not How It Went
This route closely reveals the main story, so it’s best to play it first to get used to the game’s mechanics.
To start Route 0, first understand your character by choosing options: Who am I? Where am I? and What am I doing here?
After that, select the Let’s move on option to progress the story.
Approach the sparkling object to obtain a Pickaxe, Iron Sword, and Wood Axe.
Inspect all nearby sparkles; one will give you the option to Follow the trail — select You bet?.
Look at some more sparkles on the right side, where you’ll find footsteps leading to the village. Choose to Follow it.
Inspect the house that has a paper pinned to the door.
Select these choices:
- Take a look
- Time to find out if you are illiterate
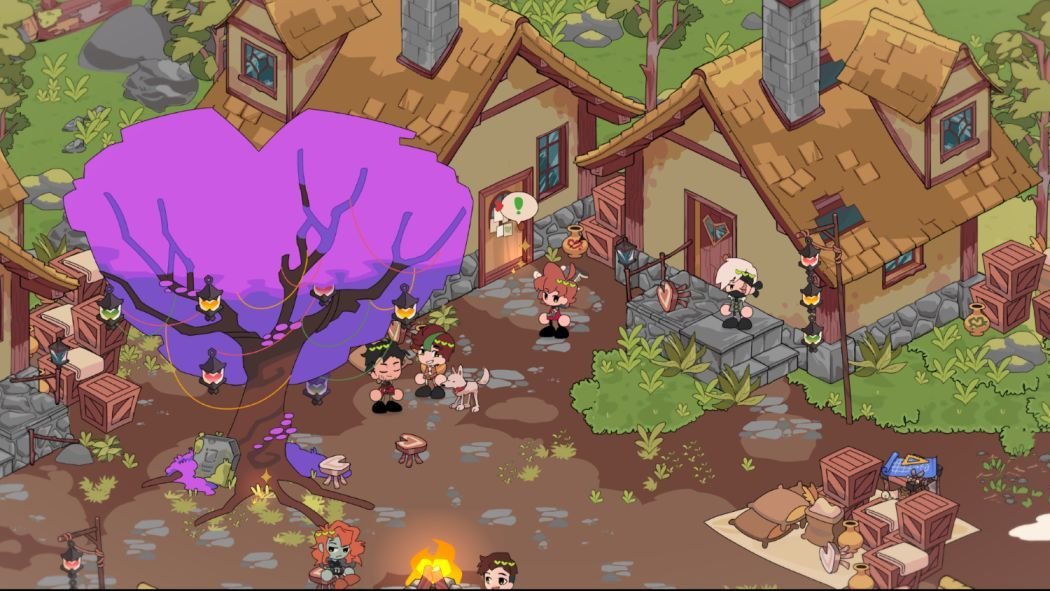
Accept the quest: Cause mischief with Scar?
Exit the village and Follow the Mountain Trail.
Enter the caves to collect flint and steel. Be sure to Interact with the Trolley.
Choose how to approach them:
- Sneak up and get the jump on them
- HI DUDE!
- The name’s Grian
- Nope, you are out. Too much caving for one day.
You’ll receive Flint and Steel.
Return to the village and hand the flint and steel to Scar.
While Scar is burning the Mystic Tree, distract Etho.
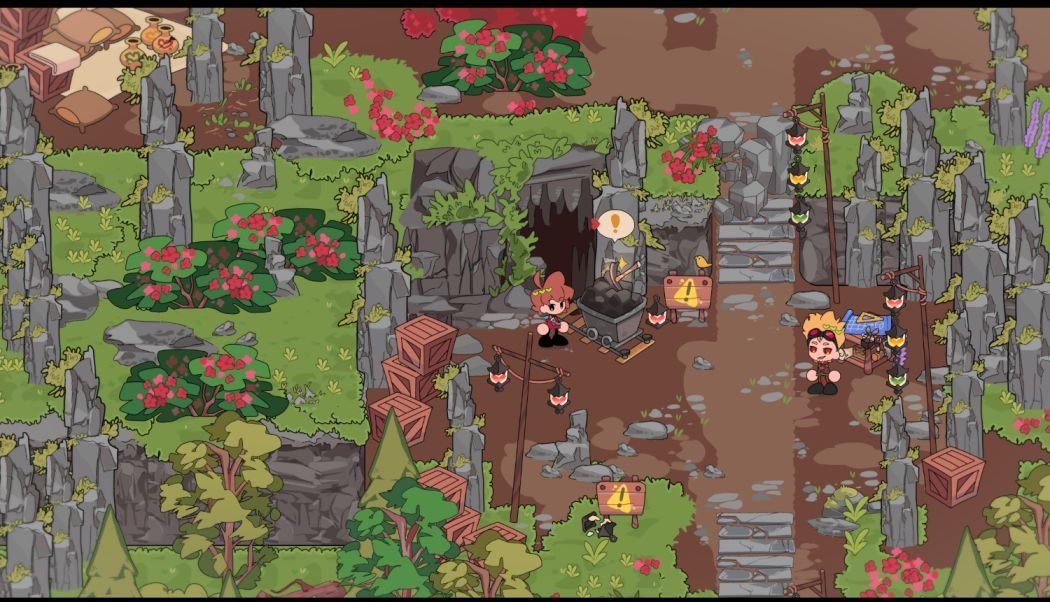
During the night, lead the creeper toward Scar.
After Scar dies, promise to stay with him until you lose your first life.
Follow Scar into the desert and stay with him through the night.
Make sure to save your game in a separate slot before going on, as you’ll need to replay sections to obtain both achievements.
Achievement: So That’s How It Went
Stick to the main story and avoid choices that would alter the original events.
When Jimmy and Scott propose a cow heist during your material gathering, decline.
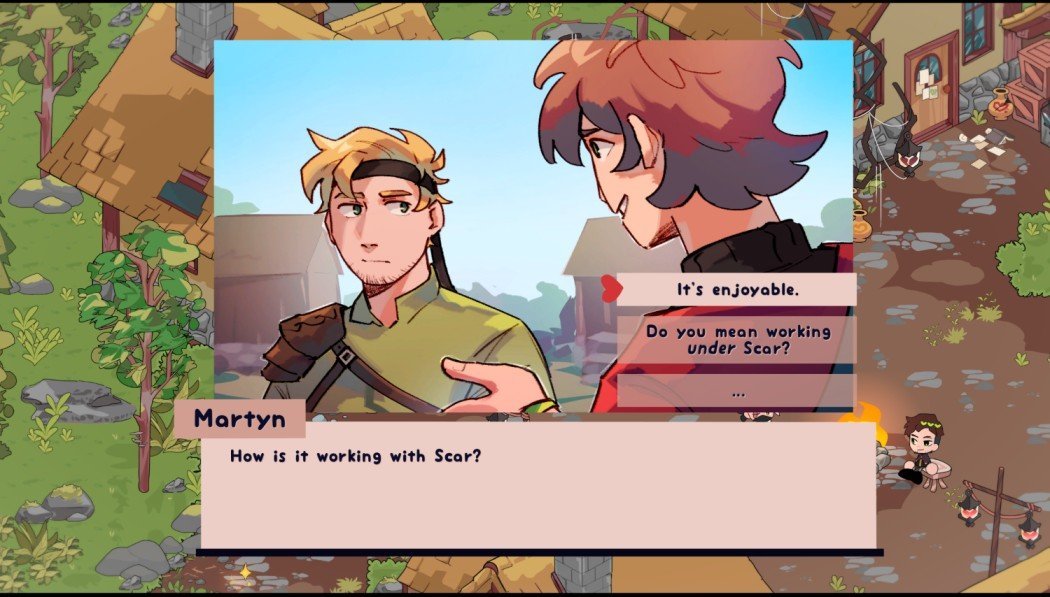
When you see Martyn in the village, don’t complain about Scar. Instead, select It’s enjoyable.
After the tree magic trick, if Martyn wants you to commit a crime with him, decline.
During the Dogwarts fight, when attacked by Martyn, be sure not to take the blow.
Taking the blow will cause you to lose your first life, preventing this achievement from unlocking this playthrough.
Continue progressing through the story. After the battle, follow the ensuing events involving BDubs, BigB, Impulse, and the No Kill Pass.
Eventually, Scar will ghost you. Continue until you reach the final confrontation in the desert. Win the fight against Scar, then jump off the cliff when prompted.
The achievement will unlock after your death.
Restart Route 0 or load a save from before the Dogwarts battle. Retain the previous choices.
This will result in an early loss of your life, shifting the story path.
Scar survives this fight and will encounter you post-respawn. During the adjusted Dogwarts battle, both you and Scar will perish.
This achievement will unlock after this ending.
Route 1: The Dark Forest
Achievements: Alone, Beloved, Die, Together
In this route, you’re tasked with building your own base instead of migrating to Flower Valley with Jimmy and Scott.
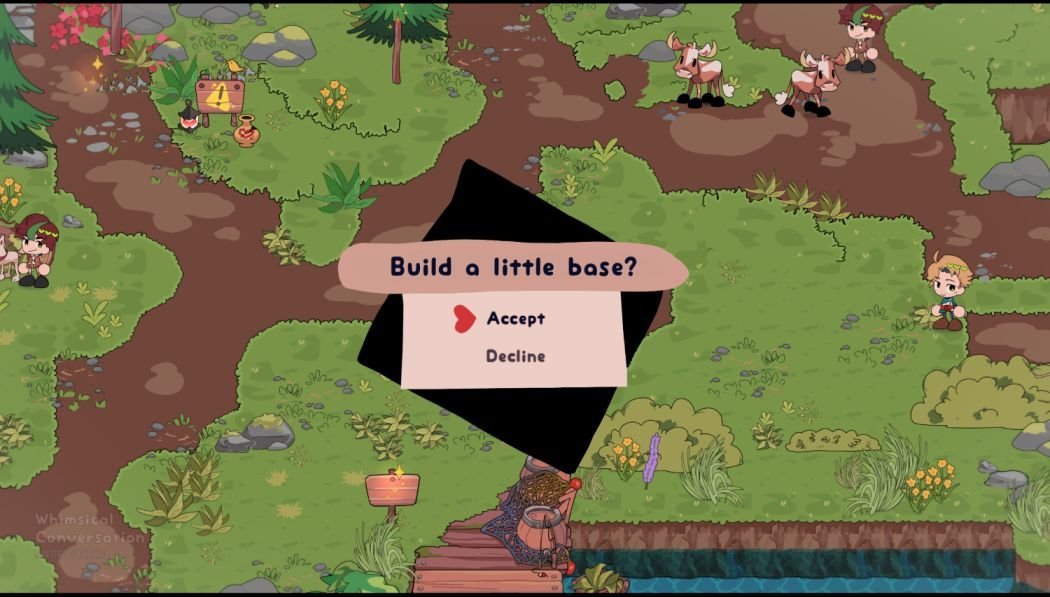
Visit the village for the first time and accept the Build a little base? quest.
Turn down Jimmy and Scott’s invitation to move to Flower Valley.
Follow the main story route and continue with Scar.
When passing your house with Scar, claim that you live there.
Choose Take a close look, one last time.
When deciding whether to keep your base, select Accept.
These choices will set you on Route 1.
W.I.P
Route 2: Dog-Eat-Dog World
Achievements: All For Naught, Almost Home, Back Where It Started, I’ll Be Waiting
Progress through Route 0 on the first day. In the village, locate Martyn and engage him in conversation.
W.I.P
Route 3: Live, Laugh, Divorce
Achievements: Happily Egger After, Hate Loses, Hate Wins, Love Loses, Love Wins
This route kicks off when you agree to relocate to Flower Valley with Jimmy and Scott.
- Visit the village for the first time.
- Construct your house.
- When invited by Jimmy and Scott to Flower Valley, choose Accept.
You’ll then be on Route 3.
W.I.P
Route 4: Ashes and Alliances
Achievements: A Lonely Death, A New Family, A Violent End
This route explores your relationship with Joel and the group at the Crastle.
How to start Route 4
- Find Joel in the forest, west of Jimmy and the cows, after exploring the house.
- Help him tame the wolves.
- Talk to him again once the wolf-taming sequence is done.
- Accept his offer to build a cabin together.
This sequence will initiate Route 4.
Achievement: A Lonely Death
This ending requires you to leave the Crastle with Joel during Session 6.
Early events in this route feature Joel losing his first life during Tango’s Dare to Flare, then your own first-life loss when a wolf kills you. Later, the cabin ignites while both you and Joel are asleep.
Afterward, you learn that Cleo started the fire for revenge over Joel hoarding Mystic Wood. Cleo feels regret and offers you and Joel a place at the Crastle with her and BDubs.
As the threat from Dogwarts escalates, you and Joel align with the group. You will ultimately sacrifice yourself for Joel during a fight, confirming your willingness to die for one another.
Save before Session 6
If you wish to access other endings on this route, launch a new save from the night during Session 5. These endings split based on your morning choice.
- On Session 6’s morning, speak with Joel near the Crastle.
- Listen to his worries about the upcoming battle.
- When prompted, select Run away with Joel.
This will lower your reputation with Cleo and BDubs, leading to the specific ending.
You and Joel first attempt to find shelter with Jimmy and Scott, but discover Jimmy is dead, and Scott refuses to aid you. You eventually head to the beach.
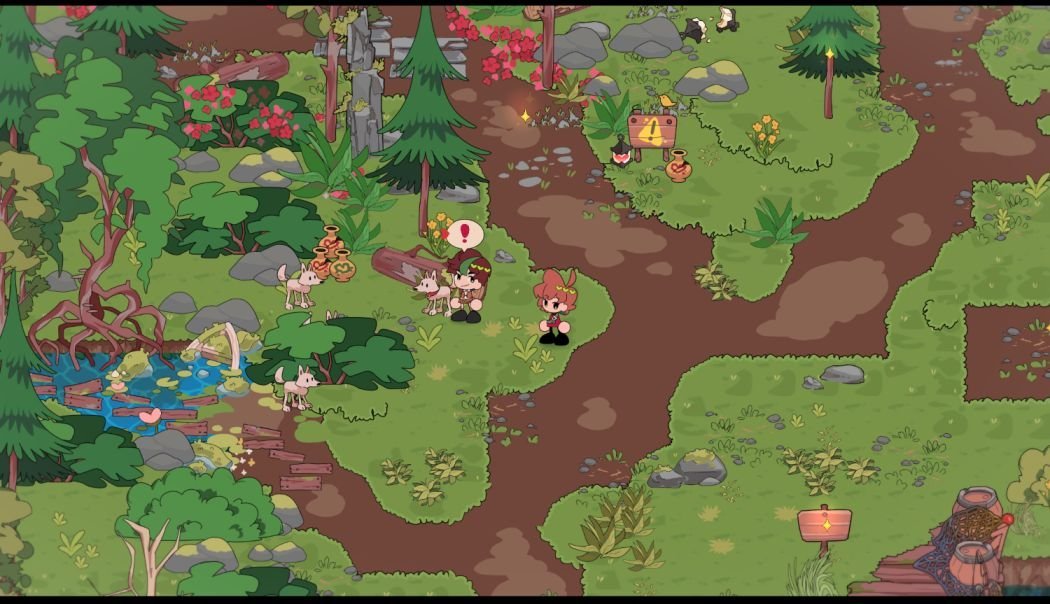
Left with Joel gone, you’ll refrain from retaliating when Martyn attacks you, thus unlocking A Lonely Death.
Route 5: Should’ve Aimed for the Hand
Achievement: Can we go to the desert?
This route begins with Martyn’s proposal to stir up trouble alongside you.
Joel goes back inside the burning cabin to rescue the wolves. One wolf escapes, but Joel and the remaining wolves die in the fire.
Afterward, you discover that Cleo started the fire as revenge for Joel hoarding Mystic Wood. Cleo feels guilty about what happened and offers to let you and Joel stay at the Crastle with Cleo and BDubs.
As the threat from Dogwarts grows, you and Joel become allies with the group. You eventually sacrifice yourself for Joel during a fight, and the two of you talk about being willing to die for each other.
Save before Session 6
If you want to unlock the other endings on this route, keep a separate save from the night of Session 5. Both endings branch from the choice you make the following morning.
- On the morning of Session 6, go outside and talk to Joel near the Crastle.
- Listen to him talk about his concerns over the coming battle.
- Select this choice when you see it – Run away with Joel.
You will lose reputation with Cleo and BDubs, putting you into this ending.
You and Joel first try to seek shelter with Jimmy and Scott, but Jimmy is dead, and Scott refuses to help. You then go to the beach.
Martyn eventually finds you and explains that the battle has gone badly for your allies. He fights you, and Joel takes the blow meant for you, dying in the process.
With Joel gone, you don’t fight back when Martyn attacks you. This unlocks A Lonely Death.
Route 5: Should’ve Aimed for the Hand
Achievement: Can we go to the desert?
This route begins with Martyn’s offer to cause trouble with you.