You can find the hidden treasures—the Sword of Epha and the Wing Stone—in Queen’s Domain by reaching the elusive Petrified Gardens. This requires a cool fast travel trick, gathering five Trident Keys, and taking down a formidable foe. I’ll walk you through the route I take and the essentials to snag both items easily.
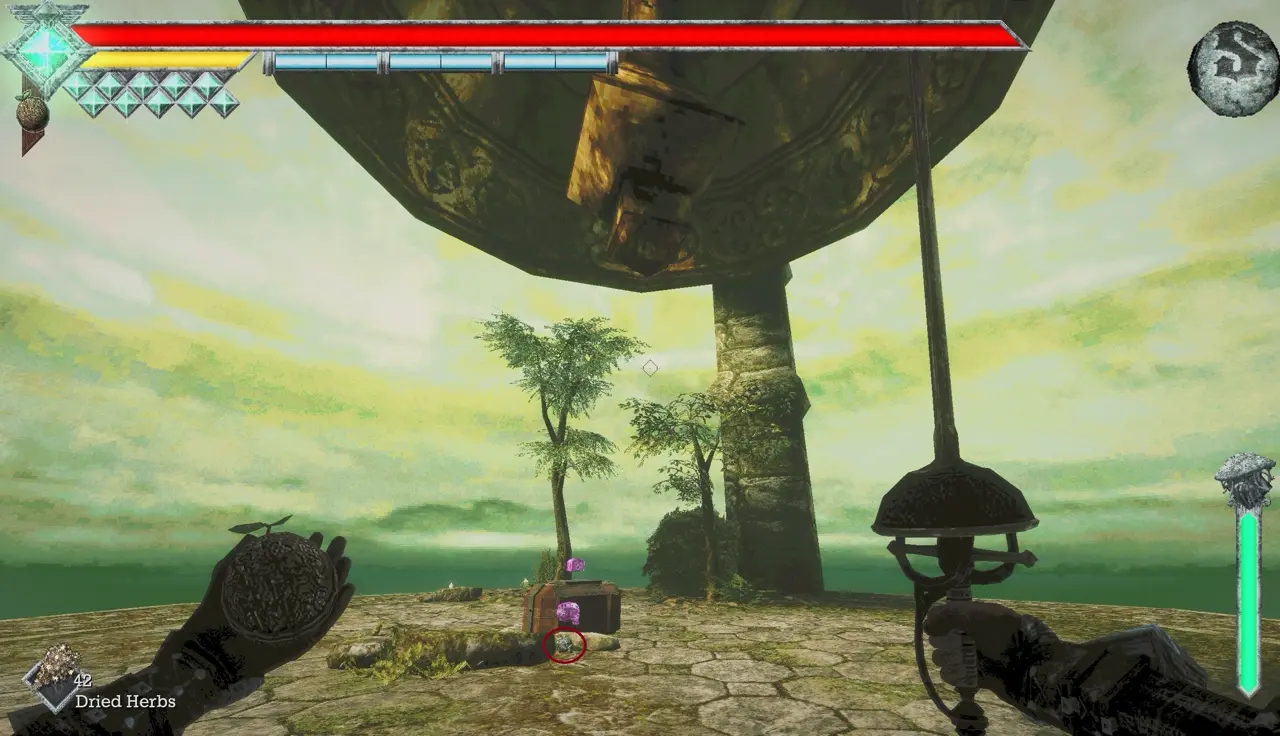
Queen’s Domain: All Skull Locations
Queen’s Domain All Yellow Chest Locations
How to Reach the Hidden Island in Queen’s Domain
Petrified Gardens: Sword of Epha and Wing Stone
The Petrified Gardens is an obscured area within Queen’s Domain that you can access using the Wing Altar. You’ll want to gear up before attempting to gather the Sword of Epha and the Wing Stone, as this involves defeating the Lost King Ojjama and activating five statues scattered throughout the gardens.
Prerequisites for the Petrified Gardens
Make sure you’re fully equipped and have completed necessary steps before venturing into the Petrified Gardens:
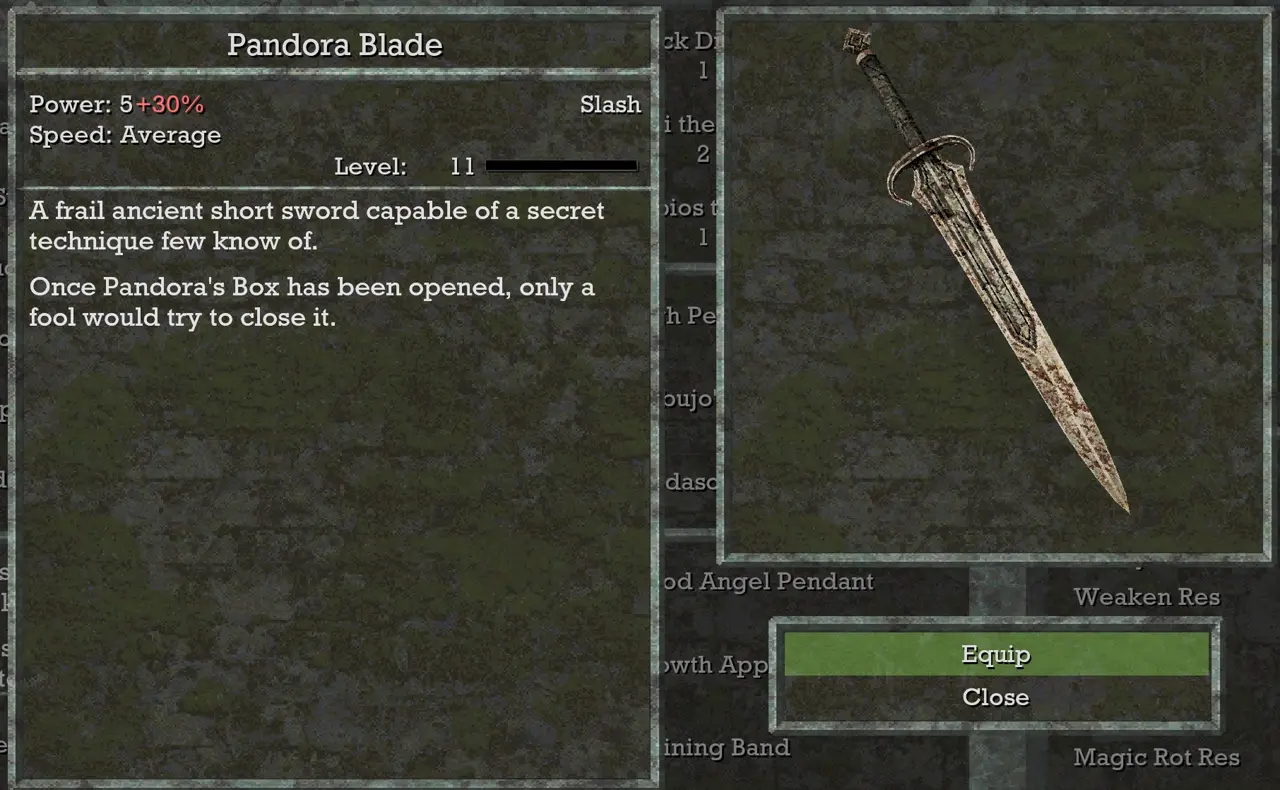
- Sword of Endu with 3 Wind Gems attached.
- Wing Altar unlocked for fast travel.
- Caestus weapon purchased from the shop.
- Cleared Obmuer Temple, acquired 2 Trident Keys and the Trident weapon.
- Upgrade the Trident weapon to level 5 to convert it into a Trident Key.
- Collect Silver or Golden Duck figurines for a fourth Trident Key in the shop.
- Bring enough equipment and be ready to defeat a challenging boss ahead of the usual playtime.
How to Reach the Petrified Gardens in Queen’s Domain
How to Reach the Petrified Gardens in Queen’s Domain
Start your journey at any unlocked Wing Altar and select a destination from the fast travel menu.
During the fast travel animation, walk into the black void around the altar platform. If done correctly, you’ll hear a sound cue and begin your descent into the dark.
When you arrive, you’ll find yourself in the Petrified Gardens. Just entering this secret area earns you an achievement!
How to Get All 5 Trident Keys
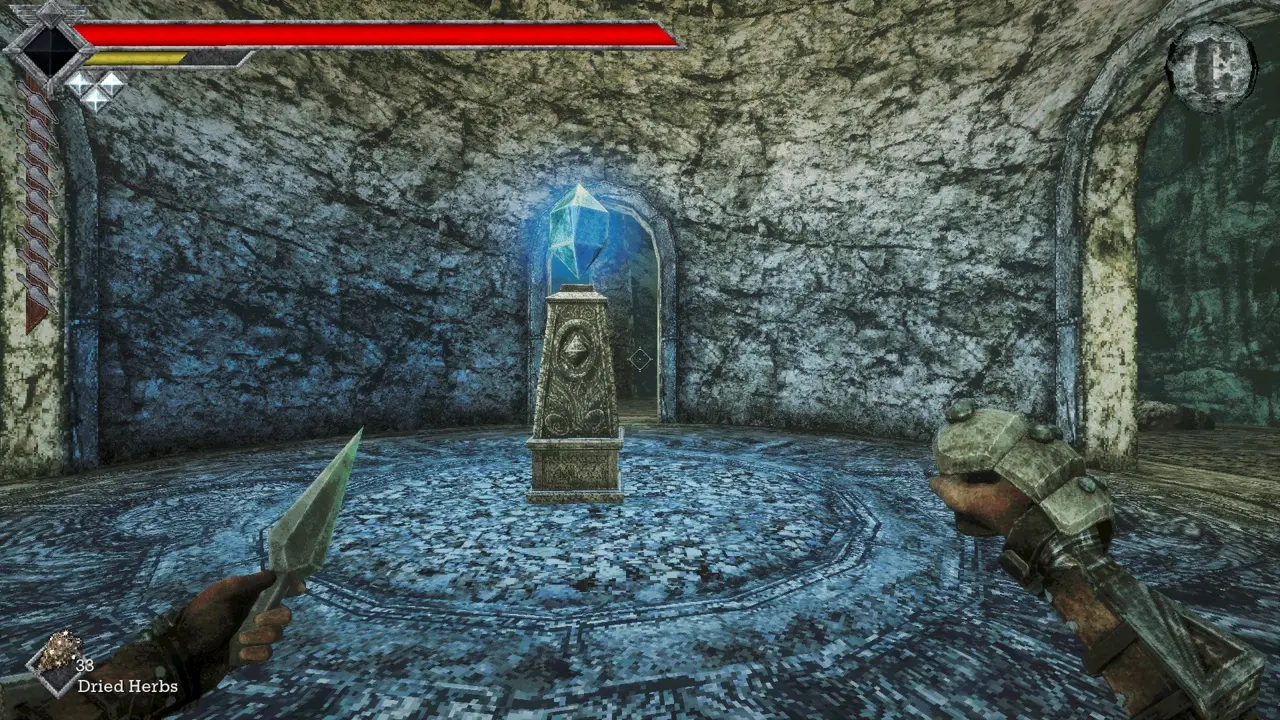
Inside the Petrified Gardens, your next task is to gather the final Trident Key to activate the central statues.
Find the Save Point and Prepare
Right after you enter, locate the save point to the left of the entrance and save your game.
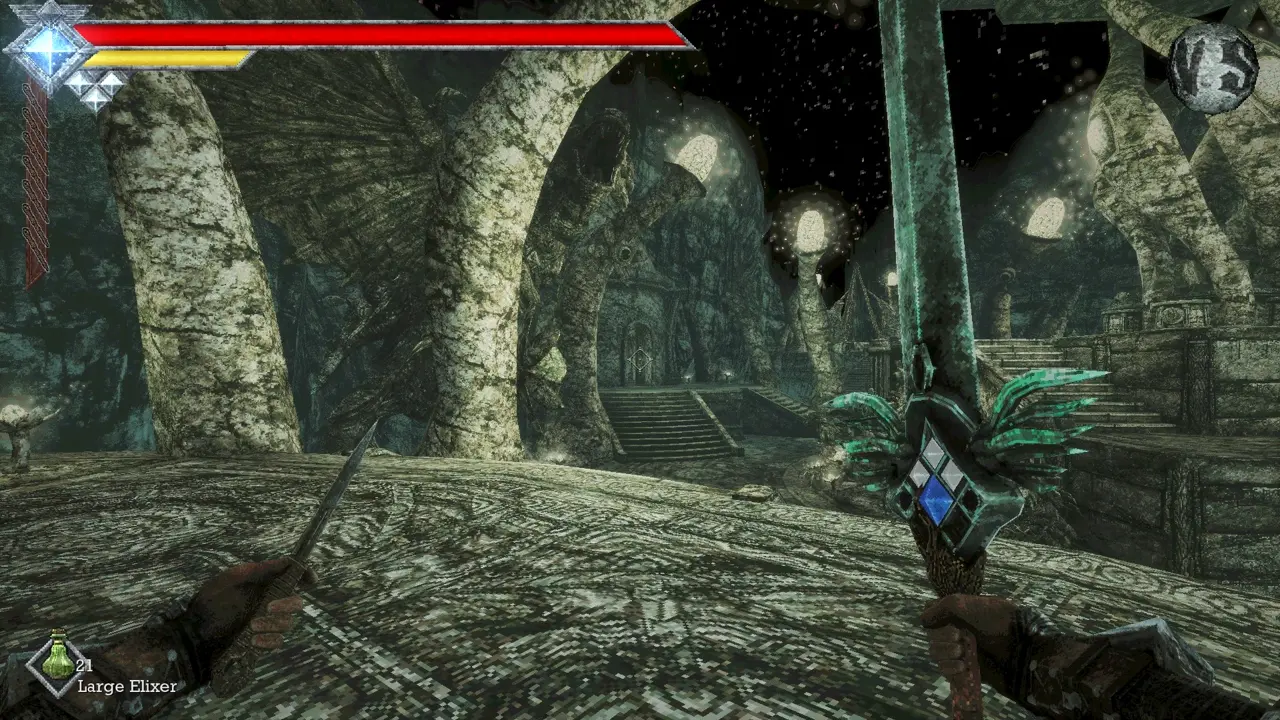
I recommend taking some time to explore the gardens and grab available loot before facing the boss. Defeating it and activating the statues will cause stone enemies to awaken, which can complicate further exploration.
Reach the Hidden Boss Arena
At the perimeter of this structure, you’ll spot a secluded arena surrounded by water. The Lost King Ojjama is waiting inside. Make your way to the edge that’s closest to the arena and prepare to jump.
With your Caestus equipped, perform a jump towards the arena and execute the secondary uppercut attack for extra height. Then, use your Wind Dash spell three times to make it across.
Defeat Lost King Ojjama
Defeat Lost King Ojjama
Before getting into it, ensure you’ve stocked up on elixirs and equipped suitable gear. Stay distant; utilize throwing weapons, the range attack of the Sword of Endu, and the Azure Torch Spell to avoid closing in too much.
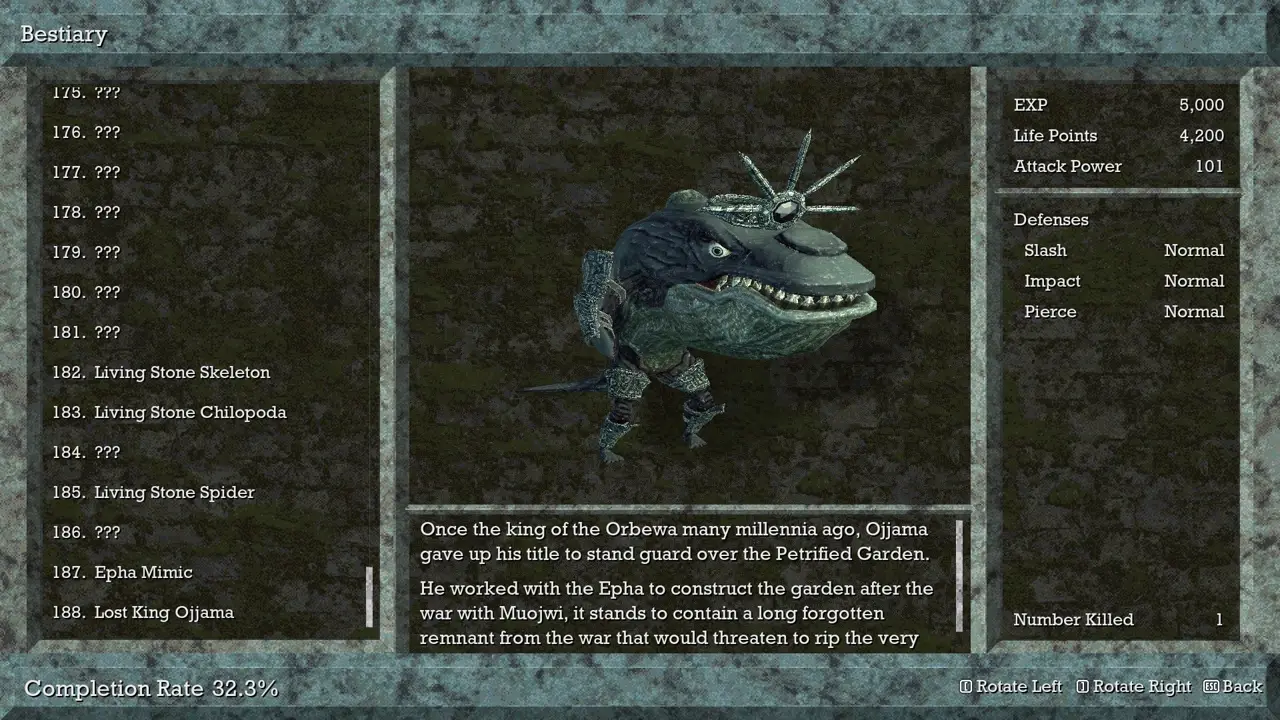
For this epic battle, I always make it a point to stockpile some elixirs and equip the best gear that I can get my hands on. My strategy revolves around maintaining a safe distance while seamlessly cycling through my arsenal of throwing weapons. Also, I love utilizing the ranged attack from the Sword of Endu, in addition to casting the fantastic Azure Torch Spell to keep my enemies at bay!
After the battle, return to the main area using the same uppercut and dash technique from the Caestus.
Important: Be sure to heal and save your progress before moving on, as the next segment awakens strong stone enemies across the Petrified Gardens.
Where to Place All 5 Trident Keys
Where to Place All 5 Trident Keys
Here’s how to place them:
- Ratty Bug Statue: Amethyst Trident Key
- Fishman Statue: Ruby Trident Key
- Slime Statue: Sapphire Trident Key
- Bat Statue: Emerald Trident Key
- Goat/Deer Statue: Onyx Trident Key
Inserting all five keys lights up the Petrified Gardens, opening several doors and making previously petrified stone enemies active.
Be cautious; these enemies can swarm quickly and are tough to deal with. Consider taking a break and saving to ease their aggro before collecting more items.
Once the five statues are activated, you can finally grab the Sword of Epha.
Starting from the save point, move southwest toward the small stone hut. The door that was locked earlier is now accessible, leading to a chest inside.
How to Get the Sword of Epha in Queen’s Domain
Once I manage to activate all five statues, I’m finally able to claim the marvelous Sword of Epha. It’s a rewarding moment when that happens!
From the save point, I make my way southwest toward this quaint little hut-like structure. Guess what? The door that was once locked has now swung open, and inside, I discover a treasure chest just waiting for me to claim what’s inside.
As I pry open the chest, I’m thrilled to find the mighty Sword of Epha nestled inside. It’s a true gem!
How to Get the Wing Stone by Defeating the Mimic
To snag the Wing Stone, I head back to the familiar stone hut where I had previously leapt my way toward Lost King Ojjama’s arena. It’s a nostalgic trip!
To my surprise, the once-closed door in this area is now ajar, leading me to yet another chest. However, I have to stay on my guard because this chest is actually a Mimic, just waiting to spring a surprise on me!
Prior to taking on the Mimic, it’s a great idea to handle the stone foes lurking nearby. These sneaky creatures can be pretty formidable, and this specific one might prove to be an even tougher fight depending on where you’re at in your level progression.
Defeat the Mimic and Collect the Wing Stone
How to Get the Wing Stone by Defeating the Mimic
For the Wing Stone, head back to the stone hut where you jumped toward Lost King Ojjama’s arena.
Defeat the Mimic and Collect the Wing Stone
During the fight, I focus on ranged attacks instead of engaging in close combat. Using the Azure Torch Spell, charged attacks from the Sword of Endu, and throwing weapons allows me to deal damage while staying safe.
After defeating the Mimic, interact with its body to claim the Wing Stone.
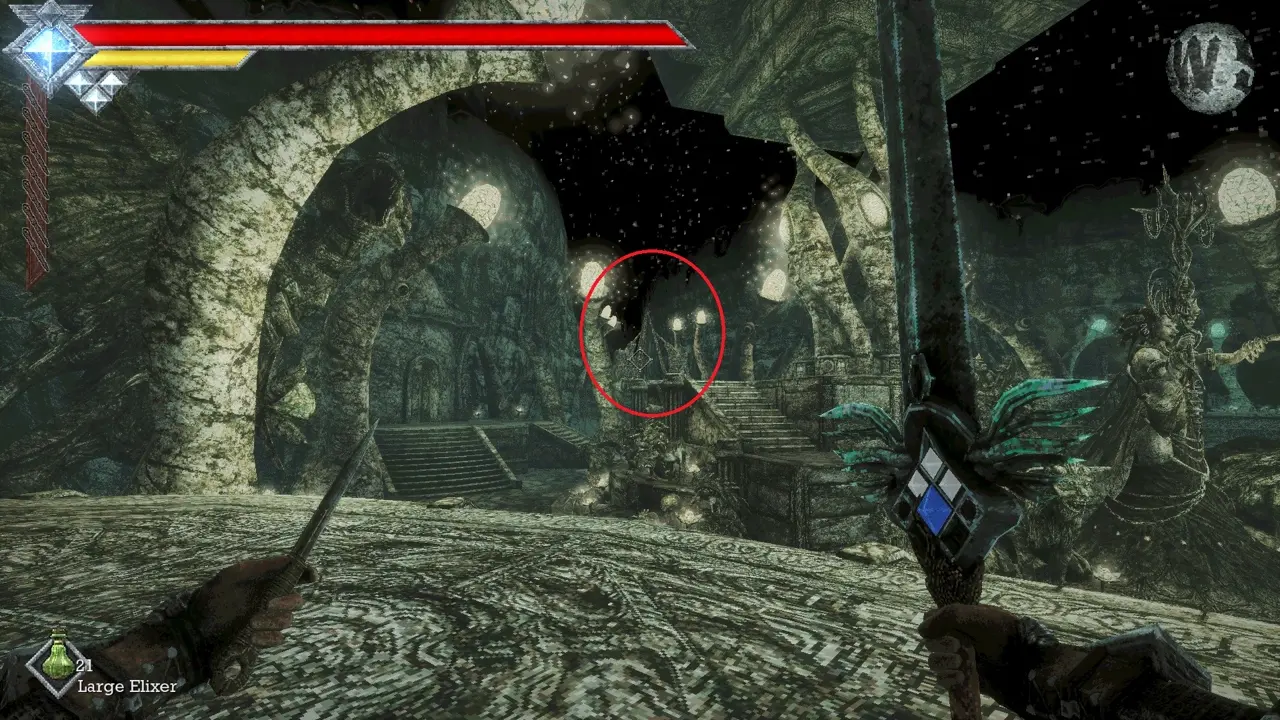
With both the Sword of Epha and the Wing Stone in hand, use the Wing Altar inside the Petrified Gardens to return to the mainland.
From the save point, head southwest toward the tall structure in the distance. That’s the Wing Altar, and it’s your fast travel connection back.