Confronting the final boss in CelSector on Hard Mode can be quite a challenge, especially when the arena gets crowded. What really helps is coming equipped with the right weapons and focusing on weakening the boss’s eyes without destroying them too early. This way, you’re all set to take out the final phase before you get overwhelmed by the minions that spawn.
How to Defeat the Final boss in Hard Mode in CelSector
When heading into this climactic battle, I suggest bringing a couple of key weapons: the Single-shot Sniper and the Laser Pistol. The sniper is my go-to for longevity in the fight while the pistol proves invaluable for dealing with groups of enemies.
Best Weapons for the Final Boss
Single-shot Sniper is an absolute must-have for this boss battle. I come across it fairly early in the game, specifically in Sector A, but I have to take the time to search instead of just cruising through the level.
Sure, there’s an alternative sniper with six rounds, but it’s less effective in Hard Mode since it often takes multiple hits to take down enemies. The Single-shot Sniper, though, delivers significant power, making it capable of one-shotting almost everything.
Single-shot Sniper
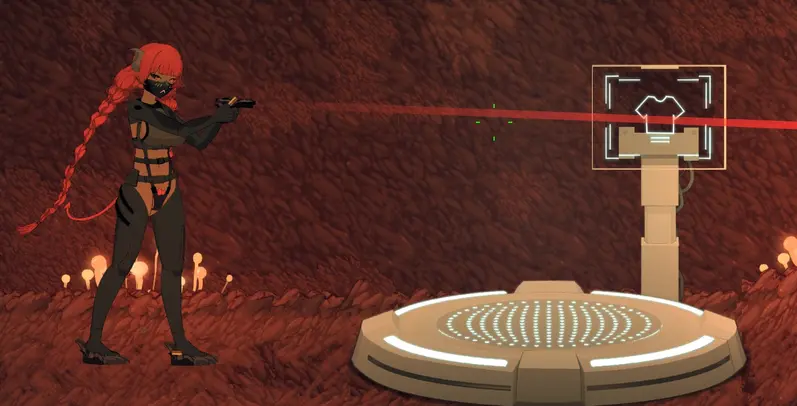
Laser Pistol isn’t strictly necessary, but having it makes the boss encounter much less daunting. Like the Single-shot Sniper, it can shoot through multiple adversaries.
I’ve noticed that its shots can potentially hit more than three targets, but I haven’t confirmed the exact number. It holds four shots, which is ample for the strategy I execute in the initial phase.
While the boss is at full health, prioritize avoiding the destruction of any of its eyes. If you break the first eye, it triggers additional enemies, which tends to complicate the situation quickly.
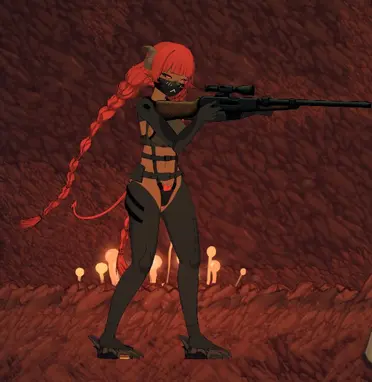
Laser Pistol
I line them up and fire through the group, capitalizing on the pistol’s ability to pierce through multiple opponents. It’s a solid tactic to clear out the spawns without feeling overwhelmed.
I focus on weakening all the boss eyes without destroying any. The Single-shot Sniper is my weapon of choice for this task due to its high damage output.
Initial Phase: How to Handle the Final Boss
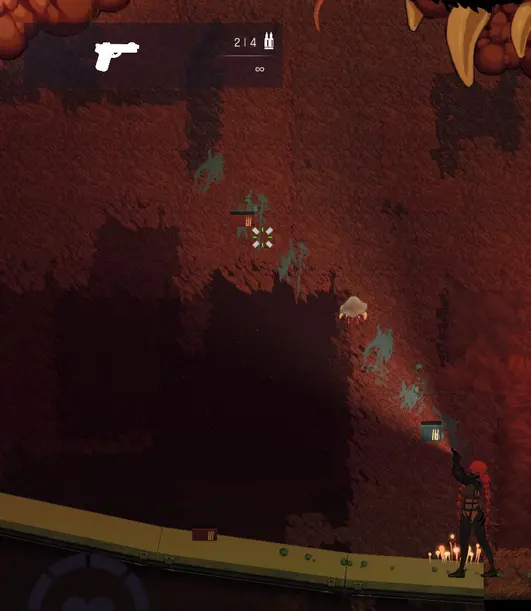
While the boss is vulnerable, I’ll also need to deal with another enemy spawning in the middle of the arena. I don’t typically rely on specific weapons for this one, so I use whatever is handy.
If I have enough ammo, I prefer not to use purple ammunition. Should I opt for the Single-shot Sniper, it can eliminate this enemy in a single hit.
Use the Laser Pistol Against the Left-Side Spawns
- Careful with sniper shots: It’s crucial to stop moving before using the Single-shot Sniper. Its ricochet can hit unintended targets, so I’m careful where I aim.
- Avoid spamming struggle controls: Struggling has limits, so mashing the A and D keys doesn’t help; it only tires me out.
- Don’t get grabbed by smaller enemies: These foes can apply debuffs that complicate struggling. If I see my struggle meter turn purple, I stop struggling to regain control.
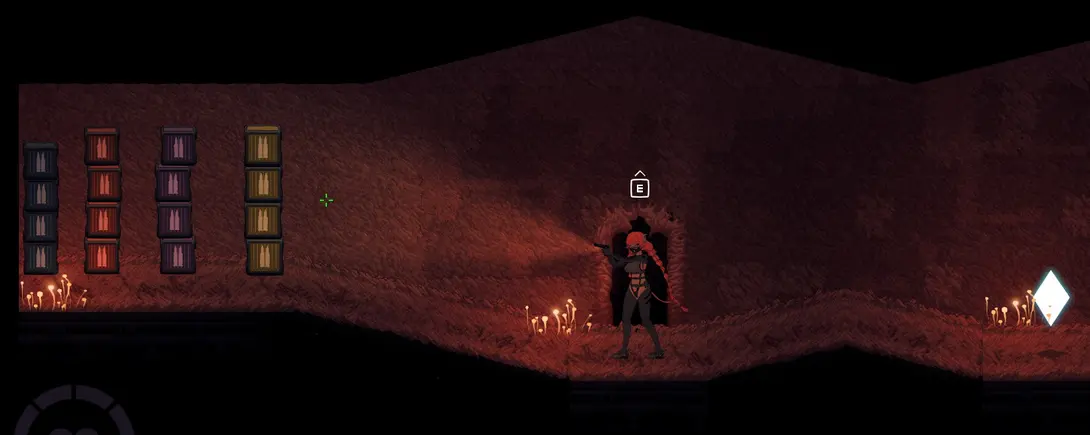
- Utilize ammo crates: In case I’m low on ammo, I keep in mind the crates located outside the save room; they’re easy to miss if I’m rushing.
As I line up my targets, I take a deep breath and pull the trigger, letting the pistol’s unique ability shine as it sails through the enemies, puncturing one after another. It’s become my go-to strategy for clearing out those pesky spawns without feeling overwhelmed by the chaos around me.
Weaken Every Eye With the Single-shot Sniper
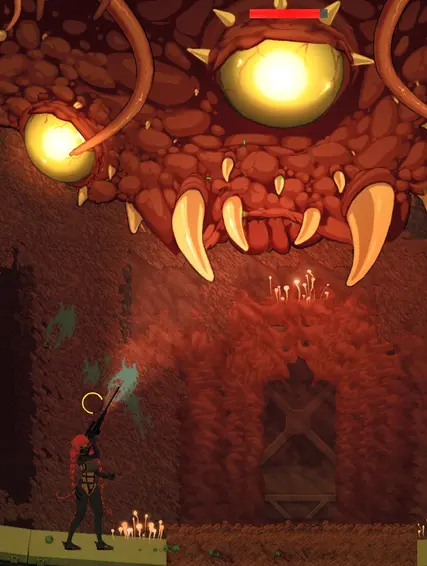
Next up on my agenda is whittling down the health of each boss eye, but without destroying any just yet. That’s where my trusty Single-shot Sniper comes into play, packing a serious punch with its high damage output, making it perfect for this task.
Before I take a shot, I always make sure to plant my feet firmly on the ground. Even the tiniest movement can throw off my aim, resulting in a missed shot with the sniper. So, I take my time and never attempt these precision shots while I’m on the move; steadiness is key!
The objective here is to get each eye’s health down to near-zero while keeping them intact. Once they’re weak, I’m able to take them down much more swiftly during the last phase, instead of battling their full health bar while enemies are swarming around trying to knock me out.
Deal With the Enemy Spawning in the Middle
Since the destruction order doesn’t affect the battle, I focus more on accessibility than worrying about which eye should go down first.
As new enemies come into play, I resist the urge to engage every single one. Most of the time, tackling them just wastes valuable time I could spend finishing off the boss.
The smaller flying enemies are easy to dodge by struggling when they grab me, but I pay more attention to the larger enemy. Leaving it unchecked can cause trouble.
Important Tips for the Initial Phase
- Watch your sniper shots: I make it a point to stand still before I aim with the Single-shot Sniper. If I’m not careful, the ricochet can catch an unintended eye instead of my target, so I always double-check where I’m firing.
- Don’t go crazy with the struggle controls: From what I’ve seen, there’s a limit to how effective struggling can be. Mashing A and D like crazy doesn’t seem to increase my success rate, so I save my energy and play it cool instead of spamming the keys.
- Stay clear of those smaller enemies: Those little guys can put a real damper on things with a debuff that makes struggling a whole lot trickier. If I notice my struggle meter turning purple, I know it’s time to stop and reassess my situation. This usually only becomes an issue if I’ve let the small spawns get the upper hand.
- Don’t forget about the ammo crates: If I ever find myself running low on bullets, I remember that there are crates just outside the save room. They’re usually easy to miss when I’m in a rush to face the boss, so I keep them in mind as a backup.
Final Phase: How to Defeat the Boss
With the boss now defeated, I can press on toward completing CelSector on Hard Mode. If you managed to take it down, congratulations!
Destroy the Eyes in Any Order
I like to keep things flexible when it comes to destroying the eyes. There’s no strict order I have to follow; I just pick whichever one catches my eye first and go from there. It’s all about what feels right at the moment!
No matter how you slice it, the order in which you tackle the eyes doesn’t alter the flow of the battle. So, I find it’s best to focus on whichever eye is the easiest target for me instead of stressing over the right sequence to take them down.
Ignore Most of the New Enemy Spawns
As new foes swarm onto the scene, I really have to fight that instinct to confront every single one of them. Most of the time, it’s just a drain on my time that could be better spent putting the pressure on the boss instead.
When it comes to the flying enemies, I find that escaping their grasp isn’t too tricky, especially if I just keep struggling. The big enemy is a different story, though; I know I need to keep my eyes on it. If I let it sit at full health, it could unleash an orgasm regardless of how hard I try to resist.
Because of that added risk, I usually tune out the smaller flying foes and focus my attention on that larger one only when absolutely necessary.
Focus on Finishing the Eyes Quickly
Since I’ve already done a number on each eye during that initial assault, they’re all pretty close to the brink of defeat. My main goal now is to wipe them out quickly rather than getting caught up in clearing out the entire arena.
If I spend too much time dawdling, I can get overwhelmed by enemies that show up in such massive hordes that my trusty Single-shot Sniper struggles to punch through the wall of foes standing in my way.
Whenever I find myself in a pinch, I grab my trusty Laser Pistol and zero in on those glaring eyes. There’s no point in getting bogged down trying to wipe out each little spawn; they tend to pop back up way faster than I can reload or take them down. So, I keep my focus steady and keep firing at those eyes.
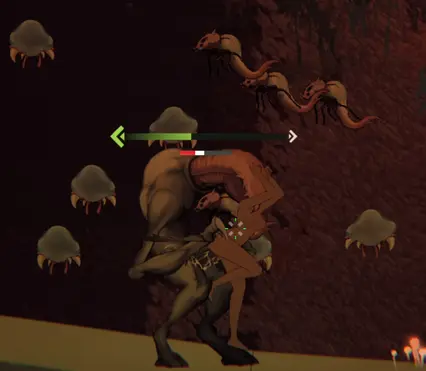
This is the tactic I lean on when facing off against the final boss in CelSector on Hard Mode. The key for me is to keep all the eyes intact for as long as I can. I focus on chipping away their health to the maximum before hastily taking them out, as I need to act fast before the swarms of enemies swarm the area and become too overwhelming.
With the final boss put down, I can now march onwards to conquer the rest of the game on Hard Mode. If you’ve managed to take it down, pat yourself on the back—it’s a pretty incredible feat!