In Here Comes the Horde, focusing on an archer build is key to clearing waves efficiently. This approach utilizes farm bonuses, strategic building placements, and crucial upgrades to maximize your archer count, allowing you to tackle Wave 26 with basic upgrades. For the tougher Waves 27-29, I make some essential adjustments to enhance the archer’s capabilities as difficulty ramps up.
Best Build Guide
Welcome to my cozy guide on how to create the ultimate archer build in Here Comes the Horde! I’m here to share my philosophy on setting up farms and archer buildings, the key upgrades I focus on to make my archers shine, and how I incorporate Construction Workers and Inspiration to help me smash through the challenging later waves. Let’s dive in and raise those arrows!
Waves 1-26: Archer Build and Farm Placement
Best Farm and Archer Building Placement
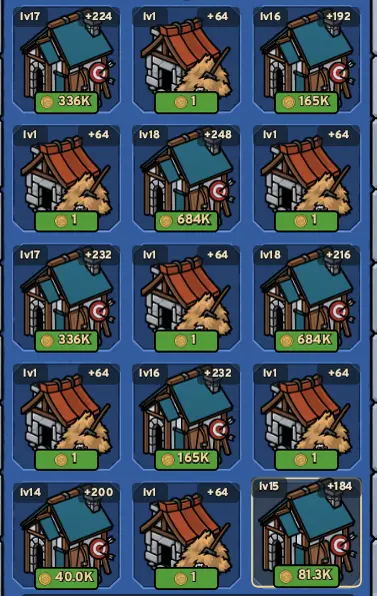
My gameplay strategy is all about maximizing the number of units I can pull from my farms and archer buildings. The neat trick is that farms can churn out bonus units when they’re positioned next to other structures, while archers thrive when they’re placed solo but have another building right in front of them. Create that perfect synergy and watch your forces grow!
To make the most of these placement bonuses, I carefully arrange my buildings, ensuring they work together in harmony. With the ideal setup, you can cover the battlefield in a flurry of arrows, all while keeping the need for diverse units at bay. It’s empowering to see just how effectively archers can dominate when positioned right!
Best Upgrades and Sheep
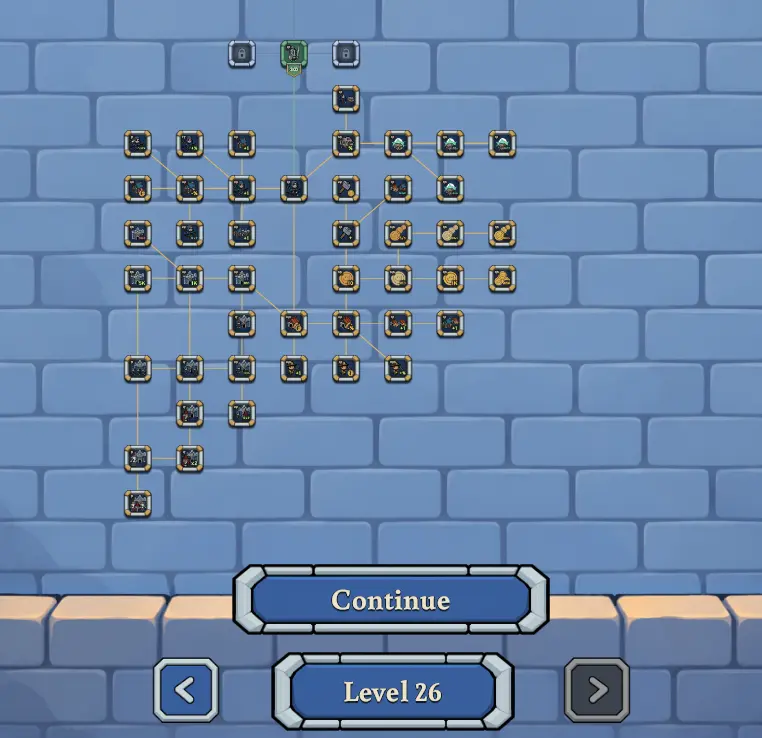
Now, when it comes to upgrades, my main focus is on anything that boosts my ability to generate more farmers and archers. I make sure to invest in upgrades that increase archer range as well, which is super helpful for taking out foes from a distance. Getting more money flowing into my build is also a key part of my strategy, as it allows for more sustained growth!
And let’s not forget about sheep; they play a handy role in my game plan! I always take the upgrade that lets my archers target sheep, along with the one that accelerates sheep respawn. This not only adds a fun layer to the gameplay but also enables more units for my army!
With this building layout and those essential upgrades under my belt, I’ve found a way to breeze through Wave 26 without any reliance on other unit types. There’s something deeply satisfying about building such a targeted and effective strategy, letting your archers do all the hard work!
Waves 27-29: Construction Workers and Inspiration
Once you hit Wave 27, things seriously ramp up in difficulty. At this stage, I know I need to start unlocking some new units, but I’ve decided to keep my focus on archers instead of shifting to a different kind of army. It really helps to stick with what you know!
Unlock Construction Workers
The biggest game changer for me has been getting the Construction Workers, which I unlock after bringing the Knight into my ranks. These helpful folks allow me to upgrade my archer buildings at a much quicker pace. If you’re serious about your archer build, you definitely want to get your hands on these guys!
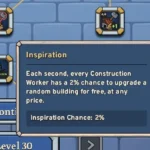
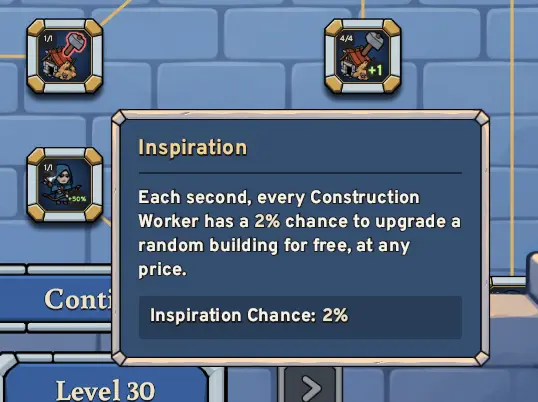
What really sets Construction Workers apart is their ability, Inspiration. This upgrade allows them to keep elevating the buildings beyond the levels I can typically purchase. So, with this boost, my archers grow even stronger and far more formidable.
Unlock Tornado and Rally
As I venture into these later waves, I also make it a point to unlock Tornado and Rally. It’s essential to grab every possible upgrade for both of these abilities. They can turn the tide of battle in your favor if used effectively!
Building Layout and Upgrades
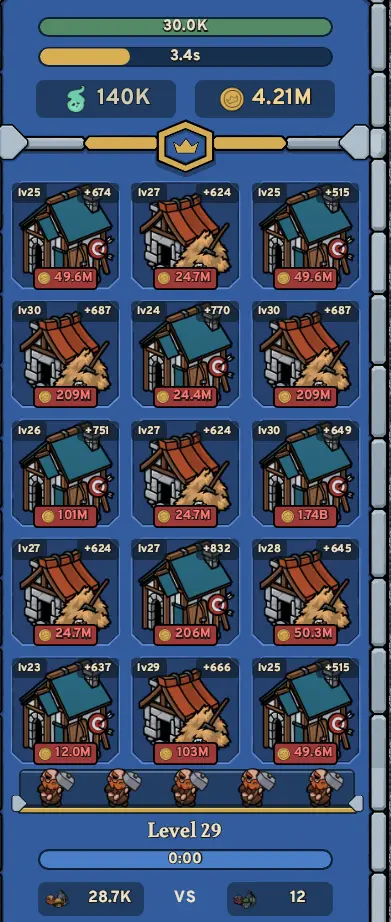
Here’s the rundown of my building layout and the upgraded buildings that work for this phase of my archer-focused strategy. Layout planning is crucial at this stage, so make sure yours aligns with your overall approach!
Wave 30: Current Build Progress
So far, I haven’t conquered Wave 30 with this build. While it has served me well through previous waves, Wave 30 is proving to be a tough nut to crack. I’ll keep you posted on any strategies that might help me finally clear it!