Tenebris Somnia really tests your skills with its tricky bosses and intricate puzzles. Encountering an invisible opponent or missing an essential item can easily set you back, but with the right strategy, you can navigate through these challenges without breaking a sweat. You’ll want to pay extra attention during boss fights and be ready to adapt your approach to each unique encounter.
Throughout my playthrough, I found myself sometimes fumbling in crucial moments, like forgetting to check every corner for items that could help with puzzles. The thrill of mastering each fight and puzzle is what keeps me coming back, and trust me, knowing when and where to act can make or break your progress.
Before diving into the details, make sure to grab a few essential items early on — they often prove invaluable later, especially when facing tougher foes or complex puzzles.
Puzzles Guide and Boss Fight Walkthrough
I’m going to outline key strategies for the various boss encounters and offer solutions for the puzzles I encountered throughout Tenebris Somnia. Be warned; there are significant spoilers included here that reveal late-game mechanics and puzzle solutions that might spoil your experience if you prefer to discover them on your own.
Boss Fight Tips
1. Obscuratus Candle Fight
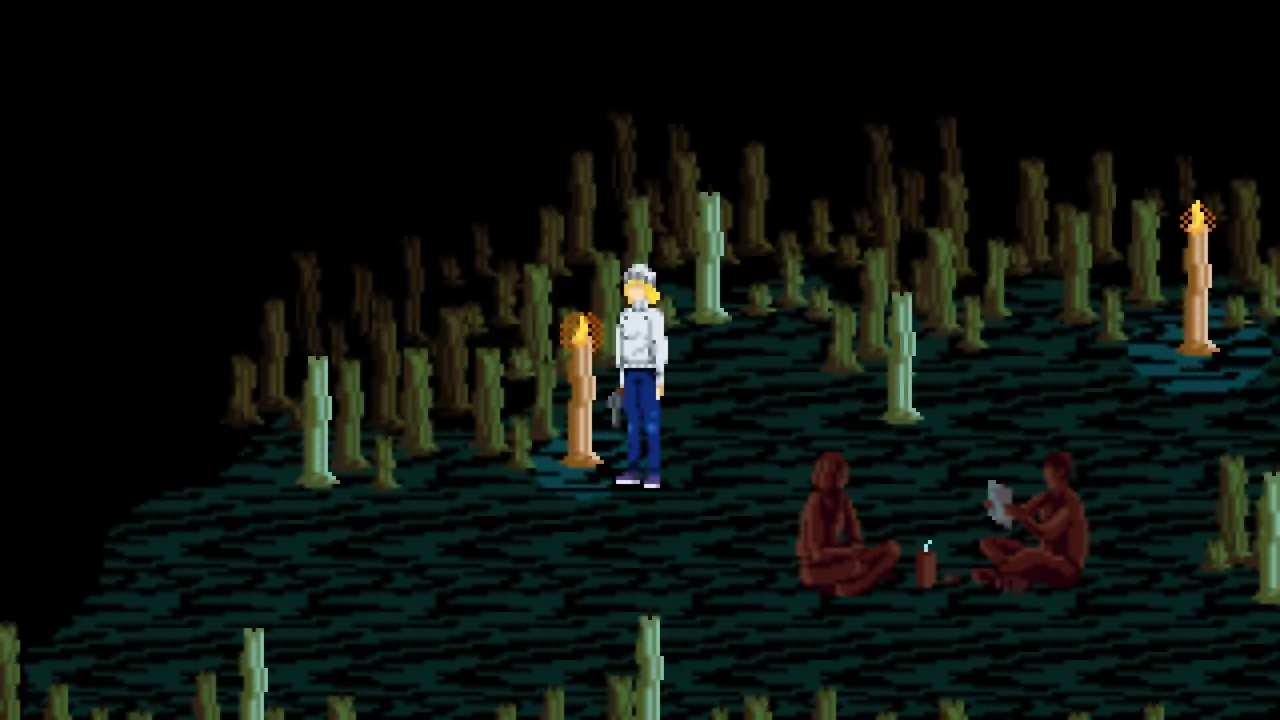
In the Obscuratus fight, the boss starts off invisible, so my first move is to scour the arena and interact with every lit candle I can find. When I extinguish all the candles, Obscuratus finally appears, allowing me to inflict damage. This process will need to be repeated several times to ultimately defeat him, making it crucial to stay alert and quickly extinguish the candles as they reignite.
It’s important to maintain a rhythm in this battle, as losing focus can lead to missed opportunities for damage. Make sure to remember the candle locations to streamline this process.
2. Fumus and the Red Circles
When battling Fumus, red circles will appear on the ground, and stepping on one can have disastrous results based on the weapon I’m wielding.
- If I’m wielding a loaded firearm, the character mistakenly turns the weapon on herself and dies.
- A melee weapon leads to self-harm as I inflict damage on myself.
- With an unloaded firearm, the character goes through a lengthy animation without being able to shoot.
To effectively handle this, I unequip all weapons before running into the circles; they vanish instantly, clearing up hazards and making the fight more manageable.
The strategy I use is to unequip everything before running into the circles. This makes them disappear immediately and clears some of the hazards from the arena.
3. Breaking Enemy Grapples
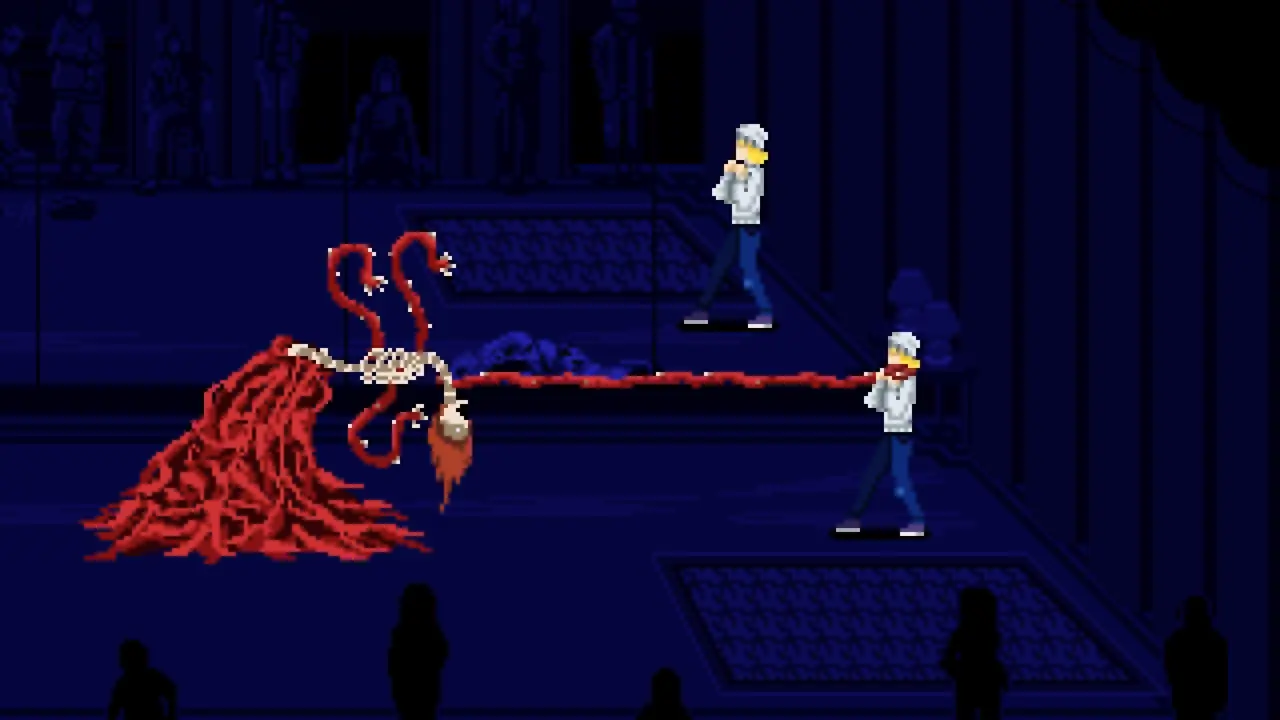
Throughout the game, there are enemies that can grapple and lock me in dangerous positions. If I get caught, I need to react quickly. For instance, during the Vitria fight, she’s capable of grabbing Julia with a tentacle, pulling her in for an instant kill. Relicta ghosts can drain health if attached.
Whenever I’m in a grapple, mashing the interact button is the trick I rely on to escape as fast as possible. This method has saved me more times than I can count!
During the Vitria boss fight, for example, Vitria can grab Julia by the throat with a tentacle and slowly pull her closer until she can be killed instantly. Relicta ghosts can also grab me and drain my health while attached.
Whenever I am caught in one of these grapples, I rapidly press the interact button until I break free.
4. Sanguis Beast Form
Facing Sanguis in his Beast Form requires some clever maneuvering. Luring him toward the giant knife located near the end of the chase sequence can end the fight in style. Timing is everything; I can either anticipate his pounce and make him land over the knife or place him directly above it. Successfully executing this move results in him being impaled and gives me the green light to continue to the next section.
I can either time his pounce so that he lands over the knife or position him directly above it. When done correctly, the knife impales Sanguis and ends the fight, allowing me to continue to the next area.
5. Studio Lights in Sulfur Fight
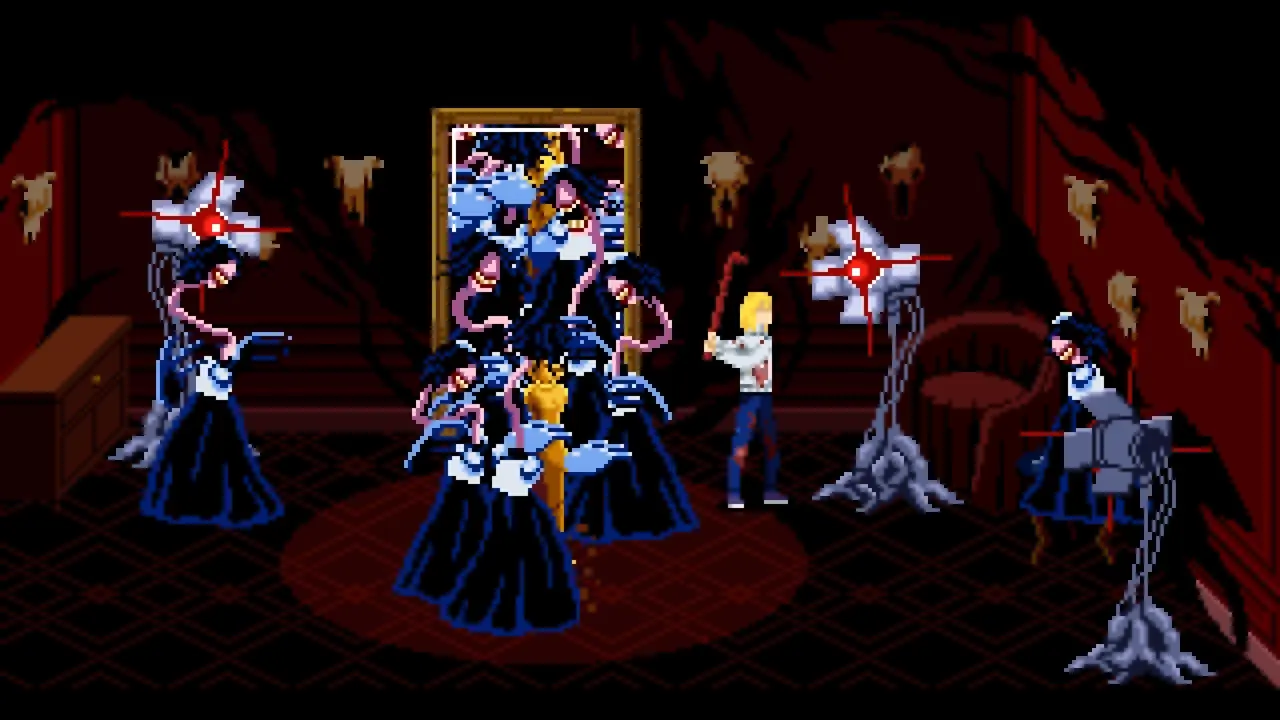
During fights with the Sulfur statue, brightly glowing studio lights can be spotted around the arena. If I’m overwhelmed, hitting one of these lights with a firearm or melee weapon eliminates all enemies currently on the screen. These lights are a lifesaver, so I make it a priority to break them whenever I see them, not just in boss fights but in encounters throughout the game.
Breaking a studio light instantly kills all enemies currently on screen. I can also break these lights whenever I encounter them elsewhere in the game.
Puzzle Guide
1. Door Puzzle in Ivan’s Apartment
- Start by entering the bathroom through the blue door next to the Devora poster and grab the Wrench.
- Go to the kitchen through the grey door to the right of the bathroom and collect the Developing Chemical.
- Head into Ivan’s bedroom using the door to the right of the TV.
- Equip the Wrench in the bedroom and destroy the boarded window on the right.
- Once the sunlight enters, collect the Glass from the nightstand on the opposite side.
- Return to the bathroom, stand in front of the broken mirror, and use the Glass from your inventory to create Glass with Blood.
- Combine Glass with Blood and Developing Chemical for Glass with Chemical and Blood.
- Go back to the bedroom and use the newly created Glass next to the opened window to obtain Auritsatio.
- Finally, unlock the Study Door with the Auritsatio.
2. TV Remote Puzzle
- Inspect the clothes rack in Ivan’s office on Floor 2 and pick up the Glove next to the laptop desk.
- Return to the kitchen, stand by the circuit breaker, and use the Glove to cut the power.
- With the power out, collect the first Battery.
- Check behind the tub curtain in the bathroom for the second Battery.
- Leave the apartment, take the elevator to Floor 3, and return to the previous version of Ivan’s apartment.
- Stand beside the TV remote and use both Batteries on it.
- Return to Floor 2. The TV will now display a sequence of symbols instead of static. Press the matching floor symbols to unlock the adjacent door.
Note: The order of symbols in this puzzle is randomized, so expect changes in different playthroughs.
Note: This puzzle is randomized, so the symbol order can change between playthroughs.
3. Key Stuck in Door Puzzle
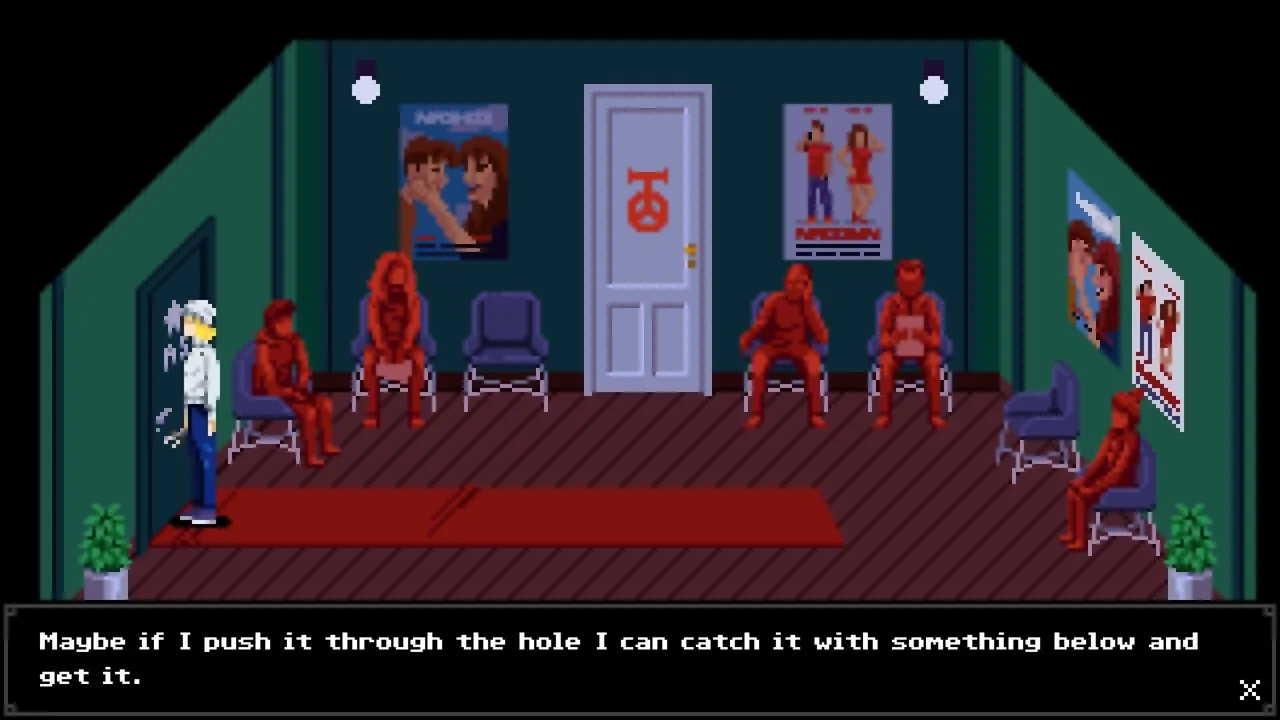
- After speaking with Sanguis, I collect the blue Triangular Stone from the candle arena. It is to the right of the red candle.
- I return to the main apartment area and make sure I have both the Scissor Blade and X-Ray.
- I can find the Scissor Blade on the kitchen counter and the X-Ray on the short bookshelf directly below the apartment’s front door, between a picture frame and a lamp.
- I leave the apartment and head toward the green Floor 2 elevator. At the blue symbol door, I use the Triangular Stone.
- Inside, I go to the leftmost door marked A.S., where a red carpet sticks out underneath it. I use the Scissor Blade first and then the X-Ray to obtain the A.S. Key.
4. Poster Cutouts and Devora Picture Puzzle
- Enter the director’s office, interact with the desk, and collect the second Scissor Blade. Combine both Scissor Blades to create a pair of Scissors.
- Look for out-of-place poster cutouts in the hallway and use the Scissors to collect a Cardboard Piece from each.
- Gather all six Cardboard Pieces from the hallway and return to the director’s office.
- At the ripped poster in the back-left corner, utilize one Cardboard Piece to start reconstructing it.
- Use all six pieces to completely reconstruct the Devora poster.
- Once done, use the Lighter on the completed poster to receive the Bathroom Key.
- Enter the bathroom directly beside the director’s office to collect the Mop Handle, which is essential for later puzzles.
5. Where to Use the Mop Handle
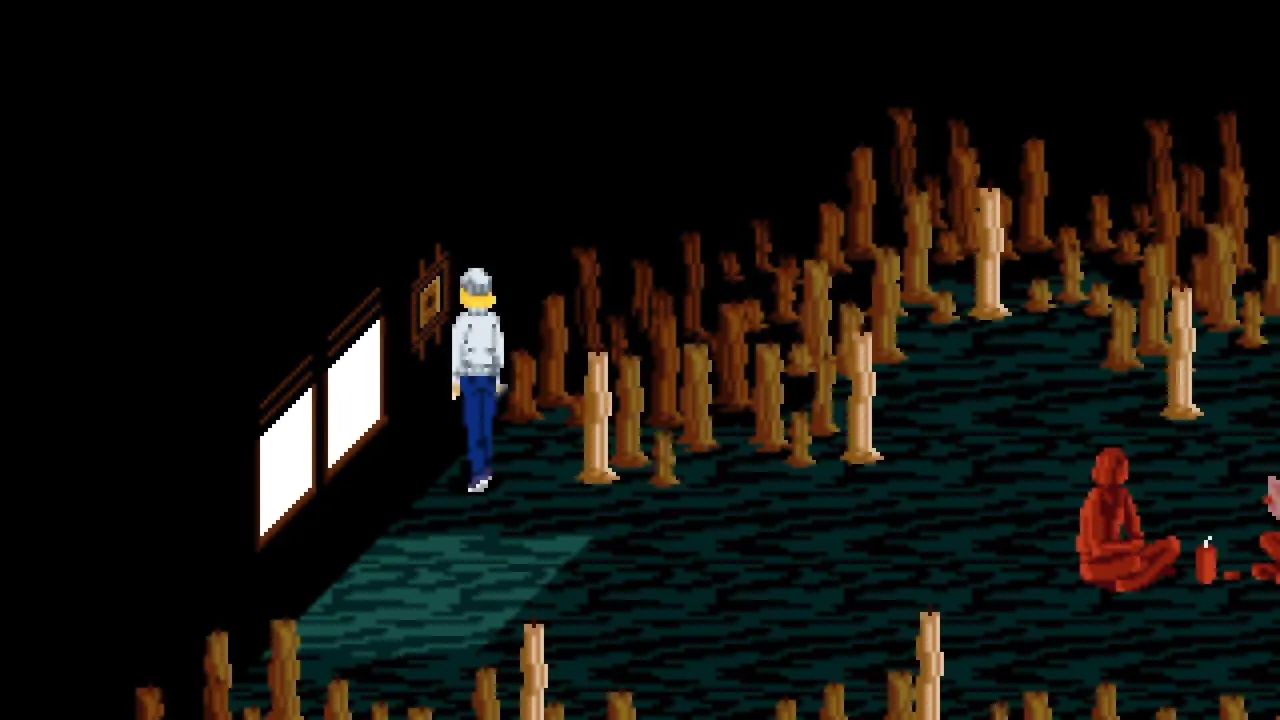
- Return to the Floor 2 apartment and head back to the candle arena where I encountered Sanguis.
- Stand beside the square on the wall near the windows and use the Mop Handle from my inventory, preparing for the subsequent fight.
6. Glass Liquid Sound Puzzle
- Approach the symbol door adjacent to the Floor 3 elevator and use the blue Triangular Stone to gain access.
- Move left to collect the first Bottle, then enter the bar.
- Gather additional Bottles from the bar, ensuring you collect one from the table, behind the bar, and from the bathroom.
- Return to the counter and ring the bell, paying attention to the tone it produces.
- Utilize Bottles to fill the large glass pitcher, adjusting the tones by adding or removing liquid with the empty Bottles as necessary.
- Once the pitcher tone matches the bell’s tone, ring the bell again to shatter the glass and gain the USB Cable.
Note: The order of Bottles required in this puzzle may differ in every playthrough.
Note: This puzzle is randomized, so the required Bottle order may be different in each playthrough.
7. Projector Room Puzzle
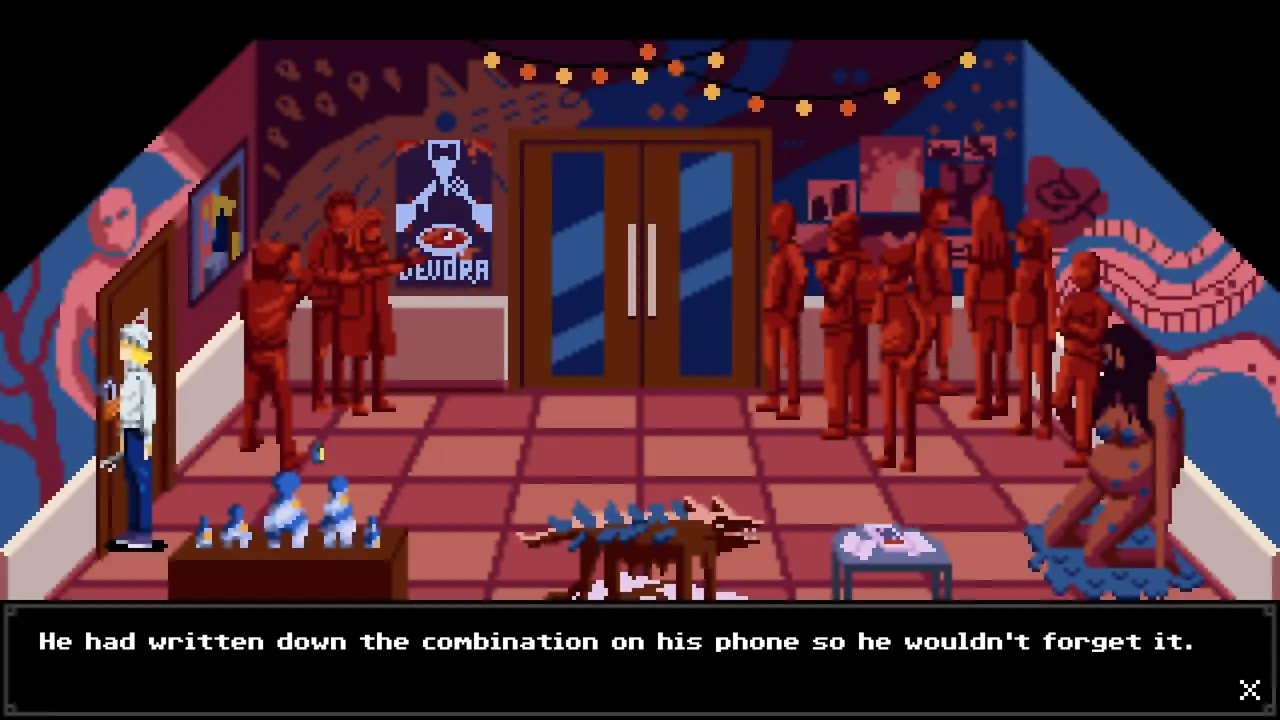
- I take the elevator to the 1st Floor and head right to Door 6.
- I walk to the far-right side of the room and enter through the doorway where light is shining through.
- In the dining room, I use the third door on the right.
- I climb the staircase to the top and collect the USB Adapter from the floor near the boarded door.
- I combine the USB Cable with the USB Adapter to create the USB Charger.
- I return to Ivan’s apartment on Floor 3 and enter the purple door to the left of the broken TV.
- On the right side of the room, I stand beside the wall outlet and Ivan’s phone and use the USB Charger. This gives me the projector room code.
- I return to the 1st Floor, go left to Door A, and enter the code to unlock the door. If I forget the code, I can check the Old Book in my inventory.